Road To Recovery
Over the holiday break I took the time and opportunity to try and recover a favourite saddle. This saddle has been with me a few seasons and seen its share of kms.
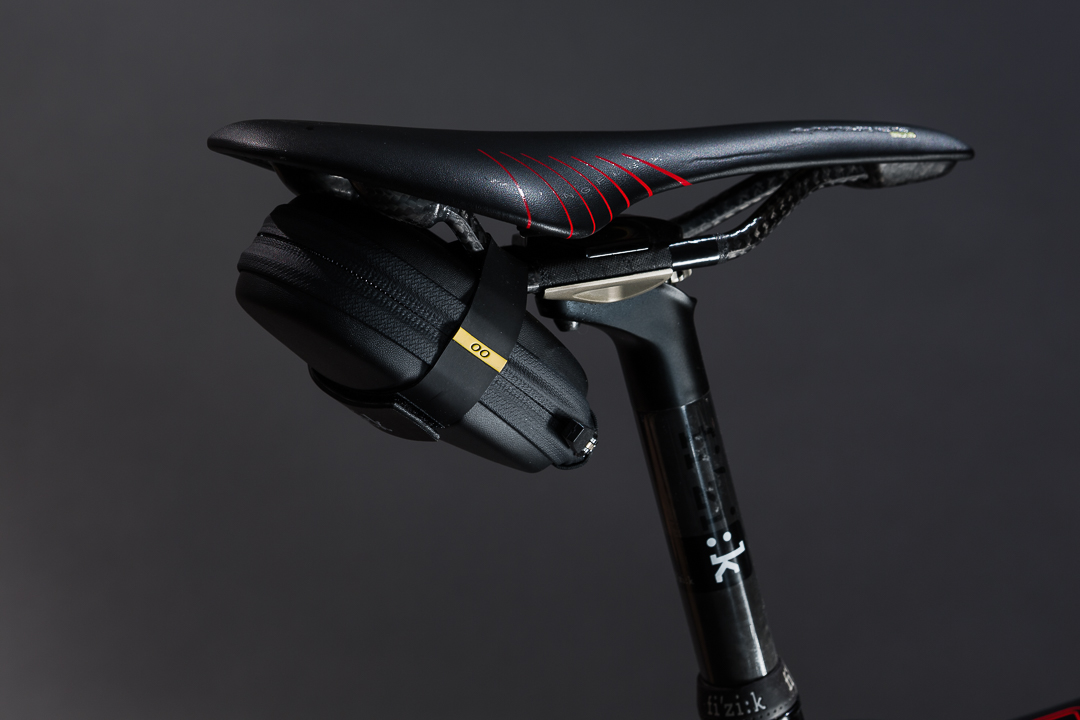
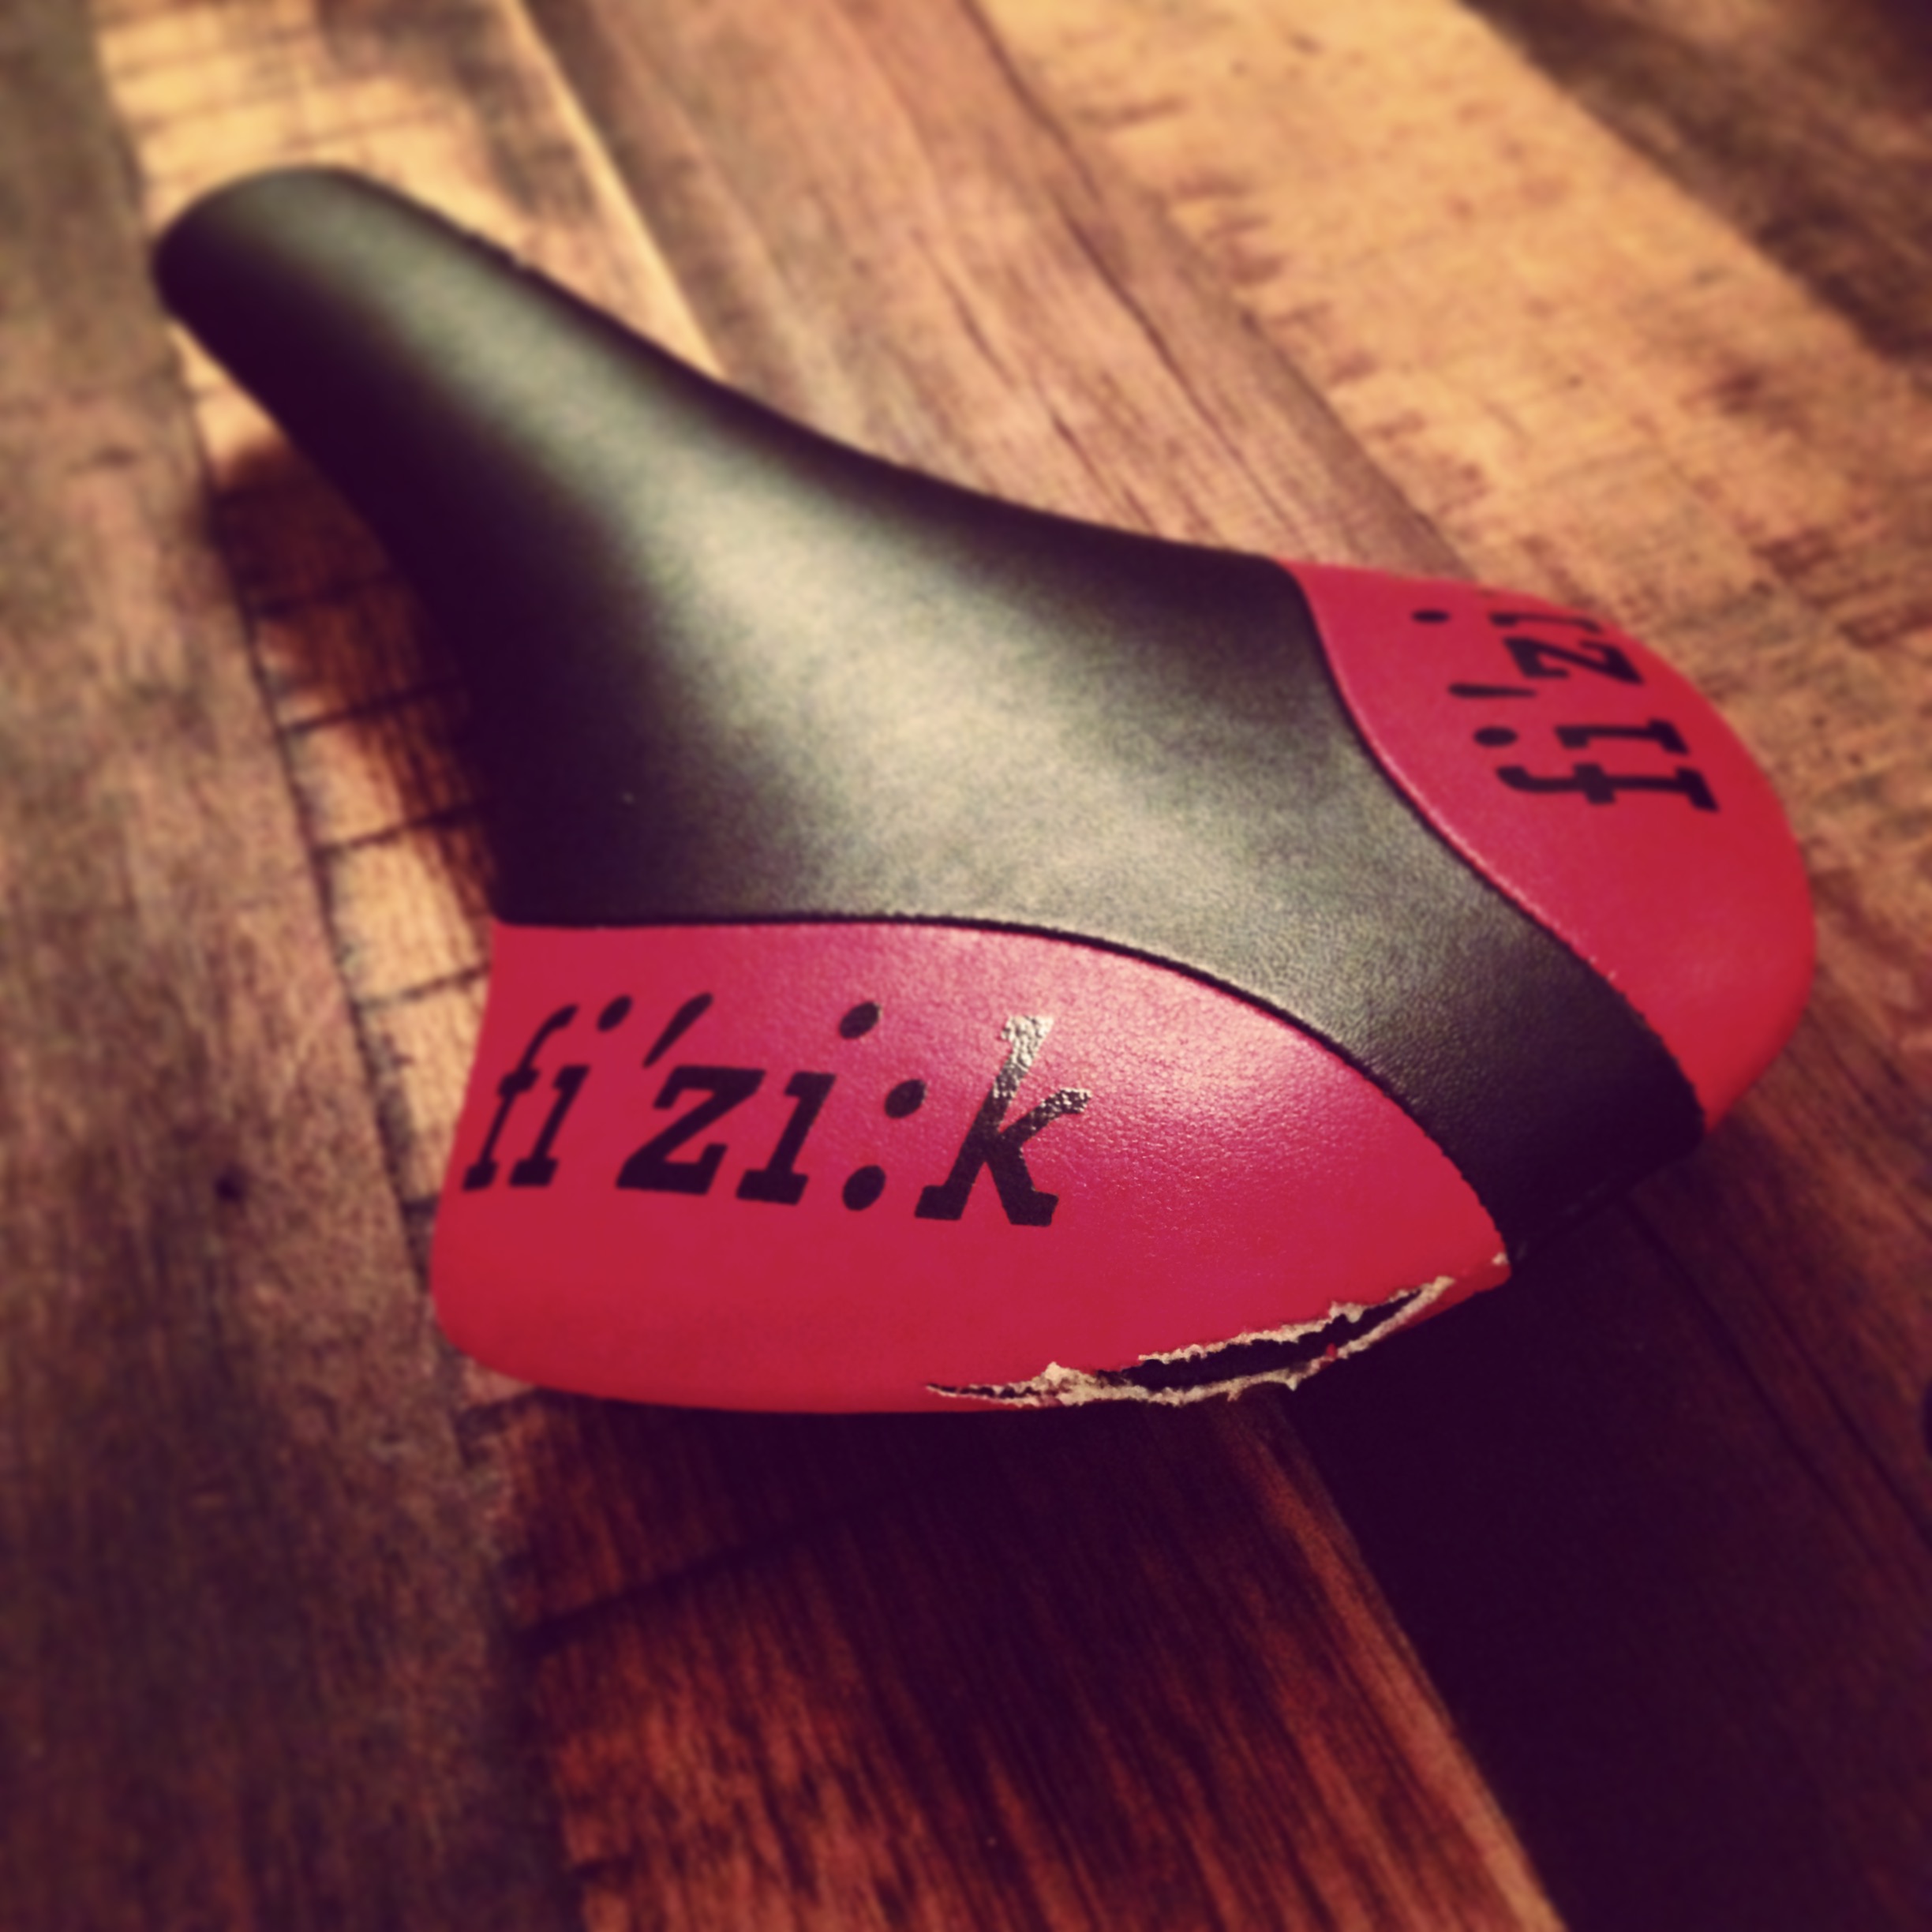
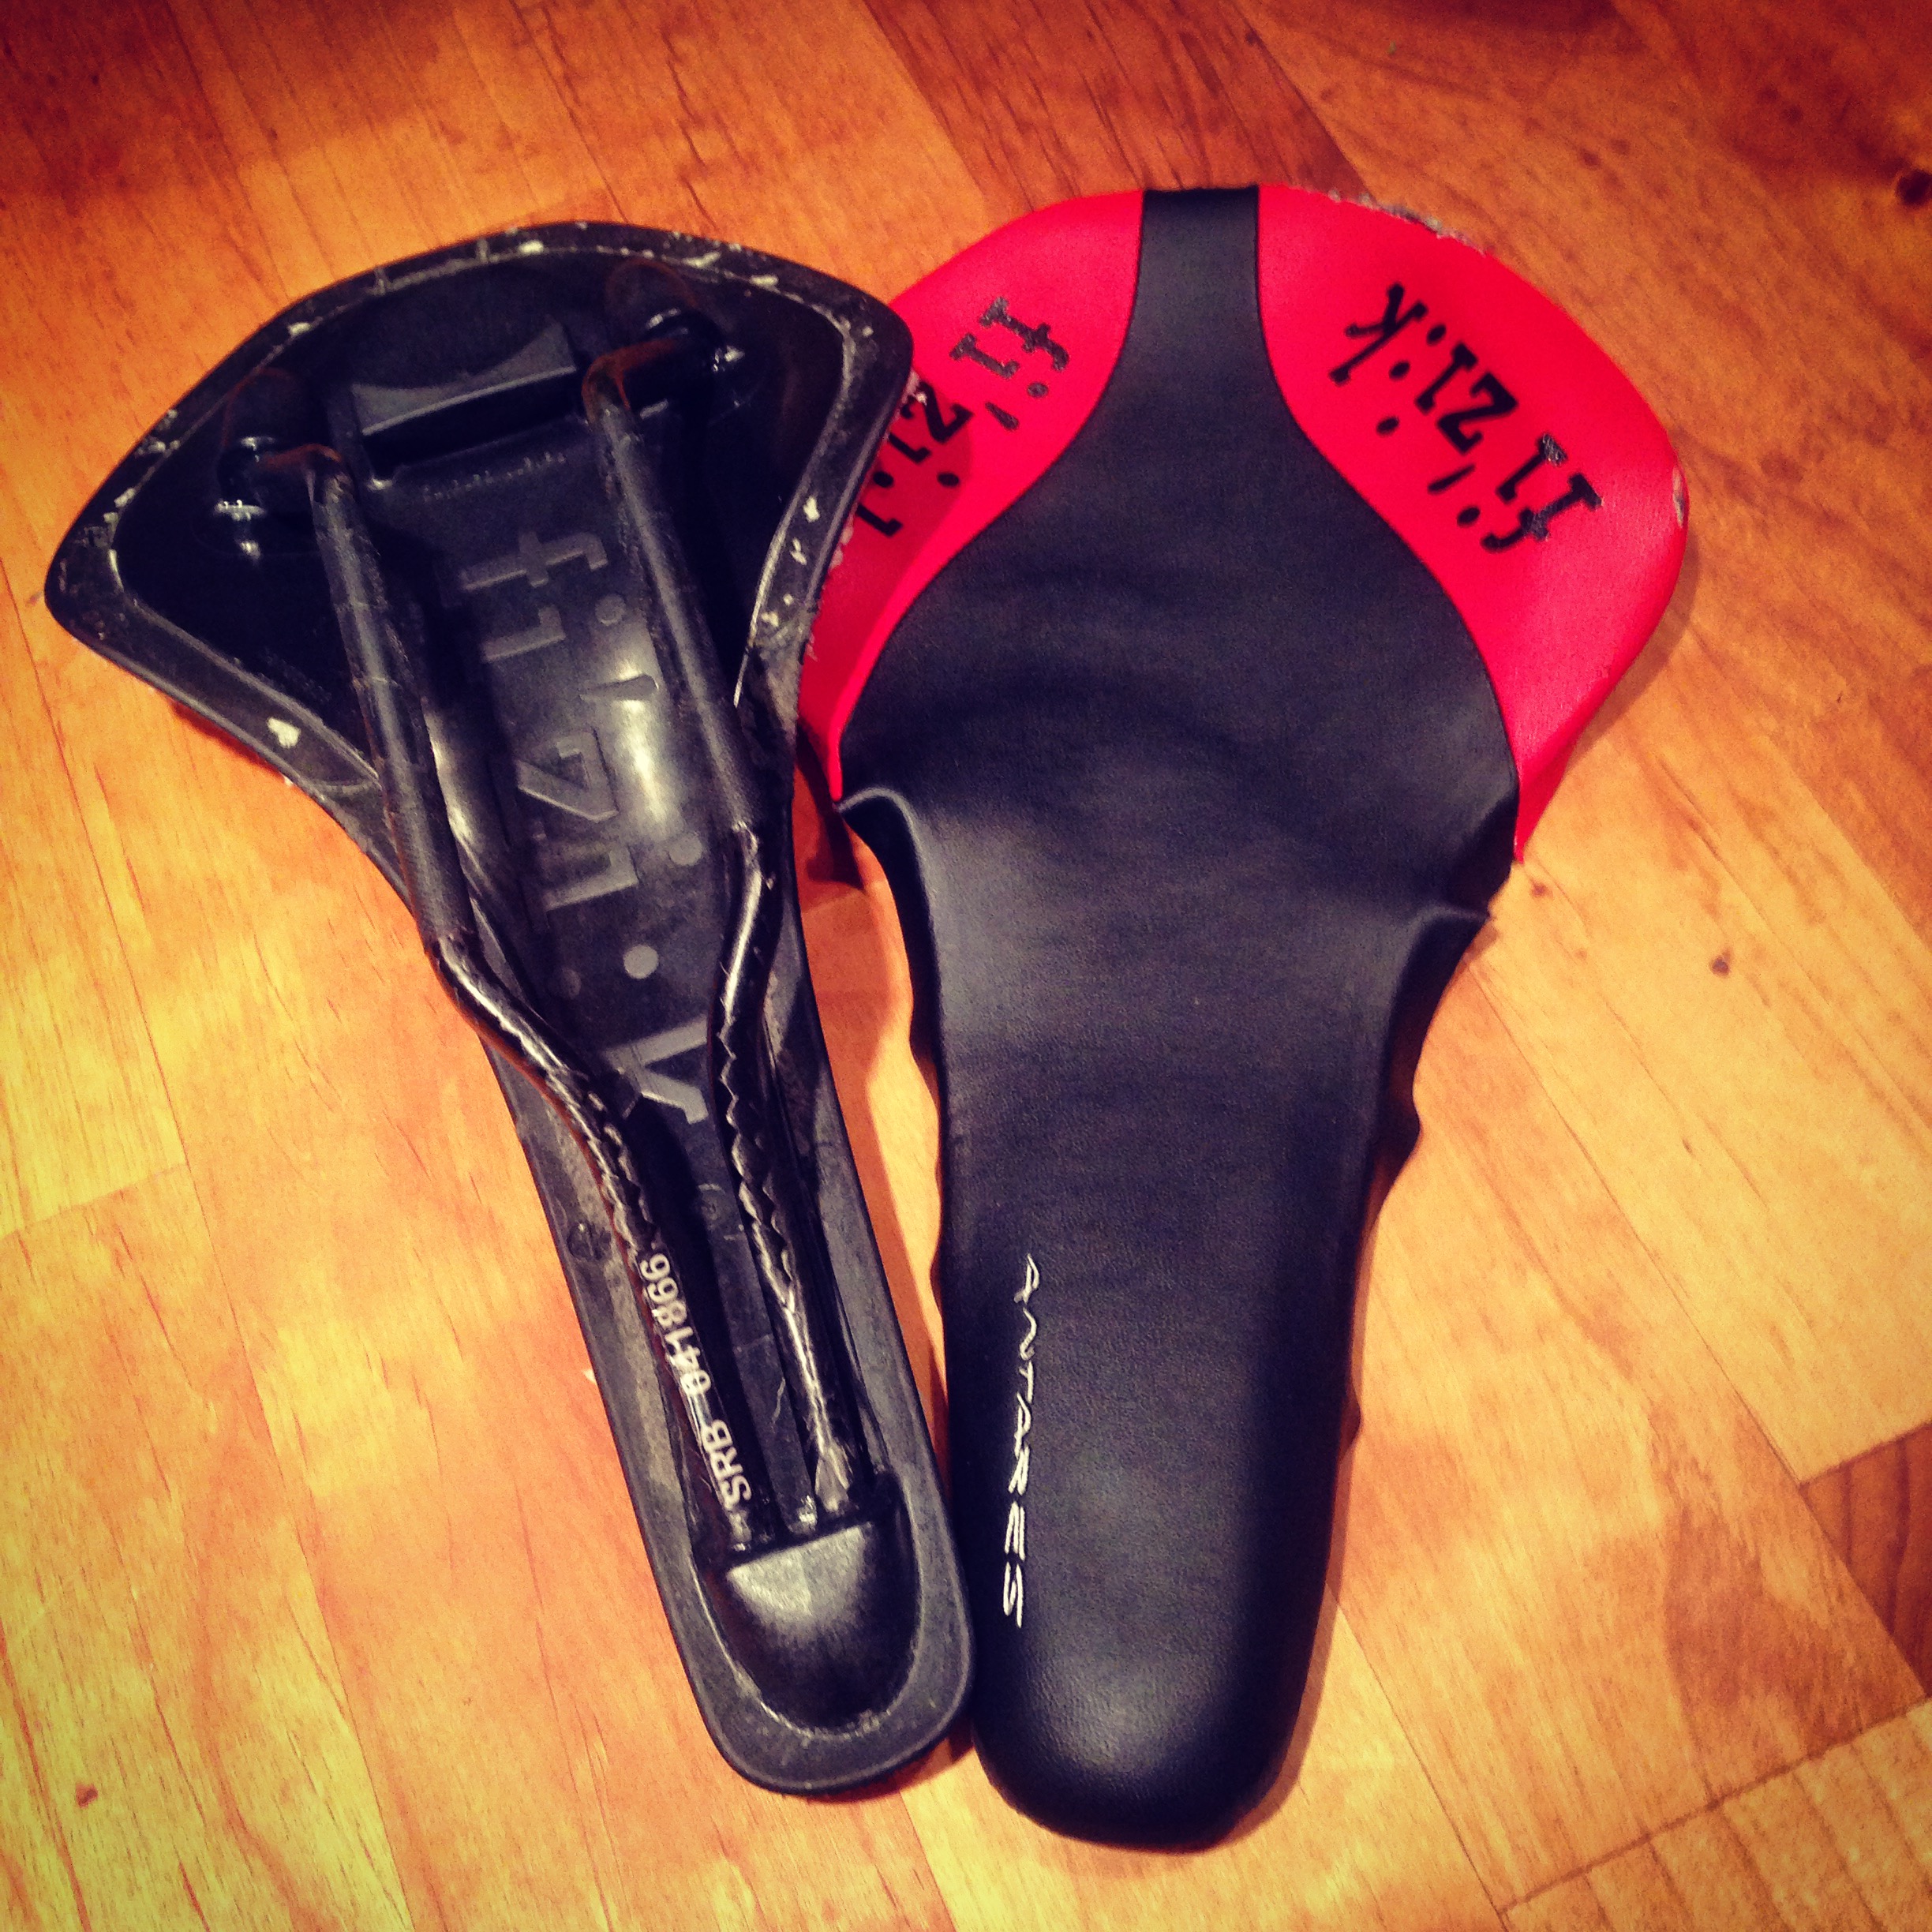
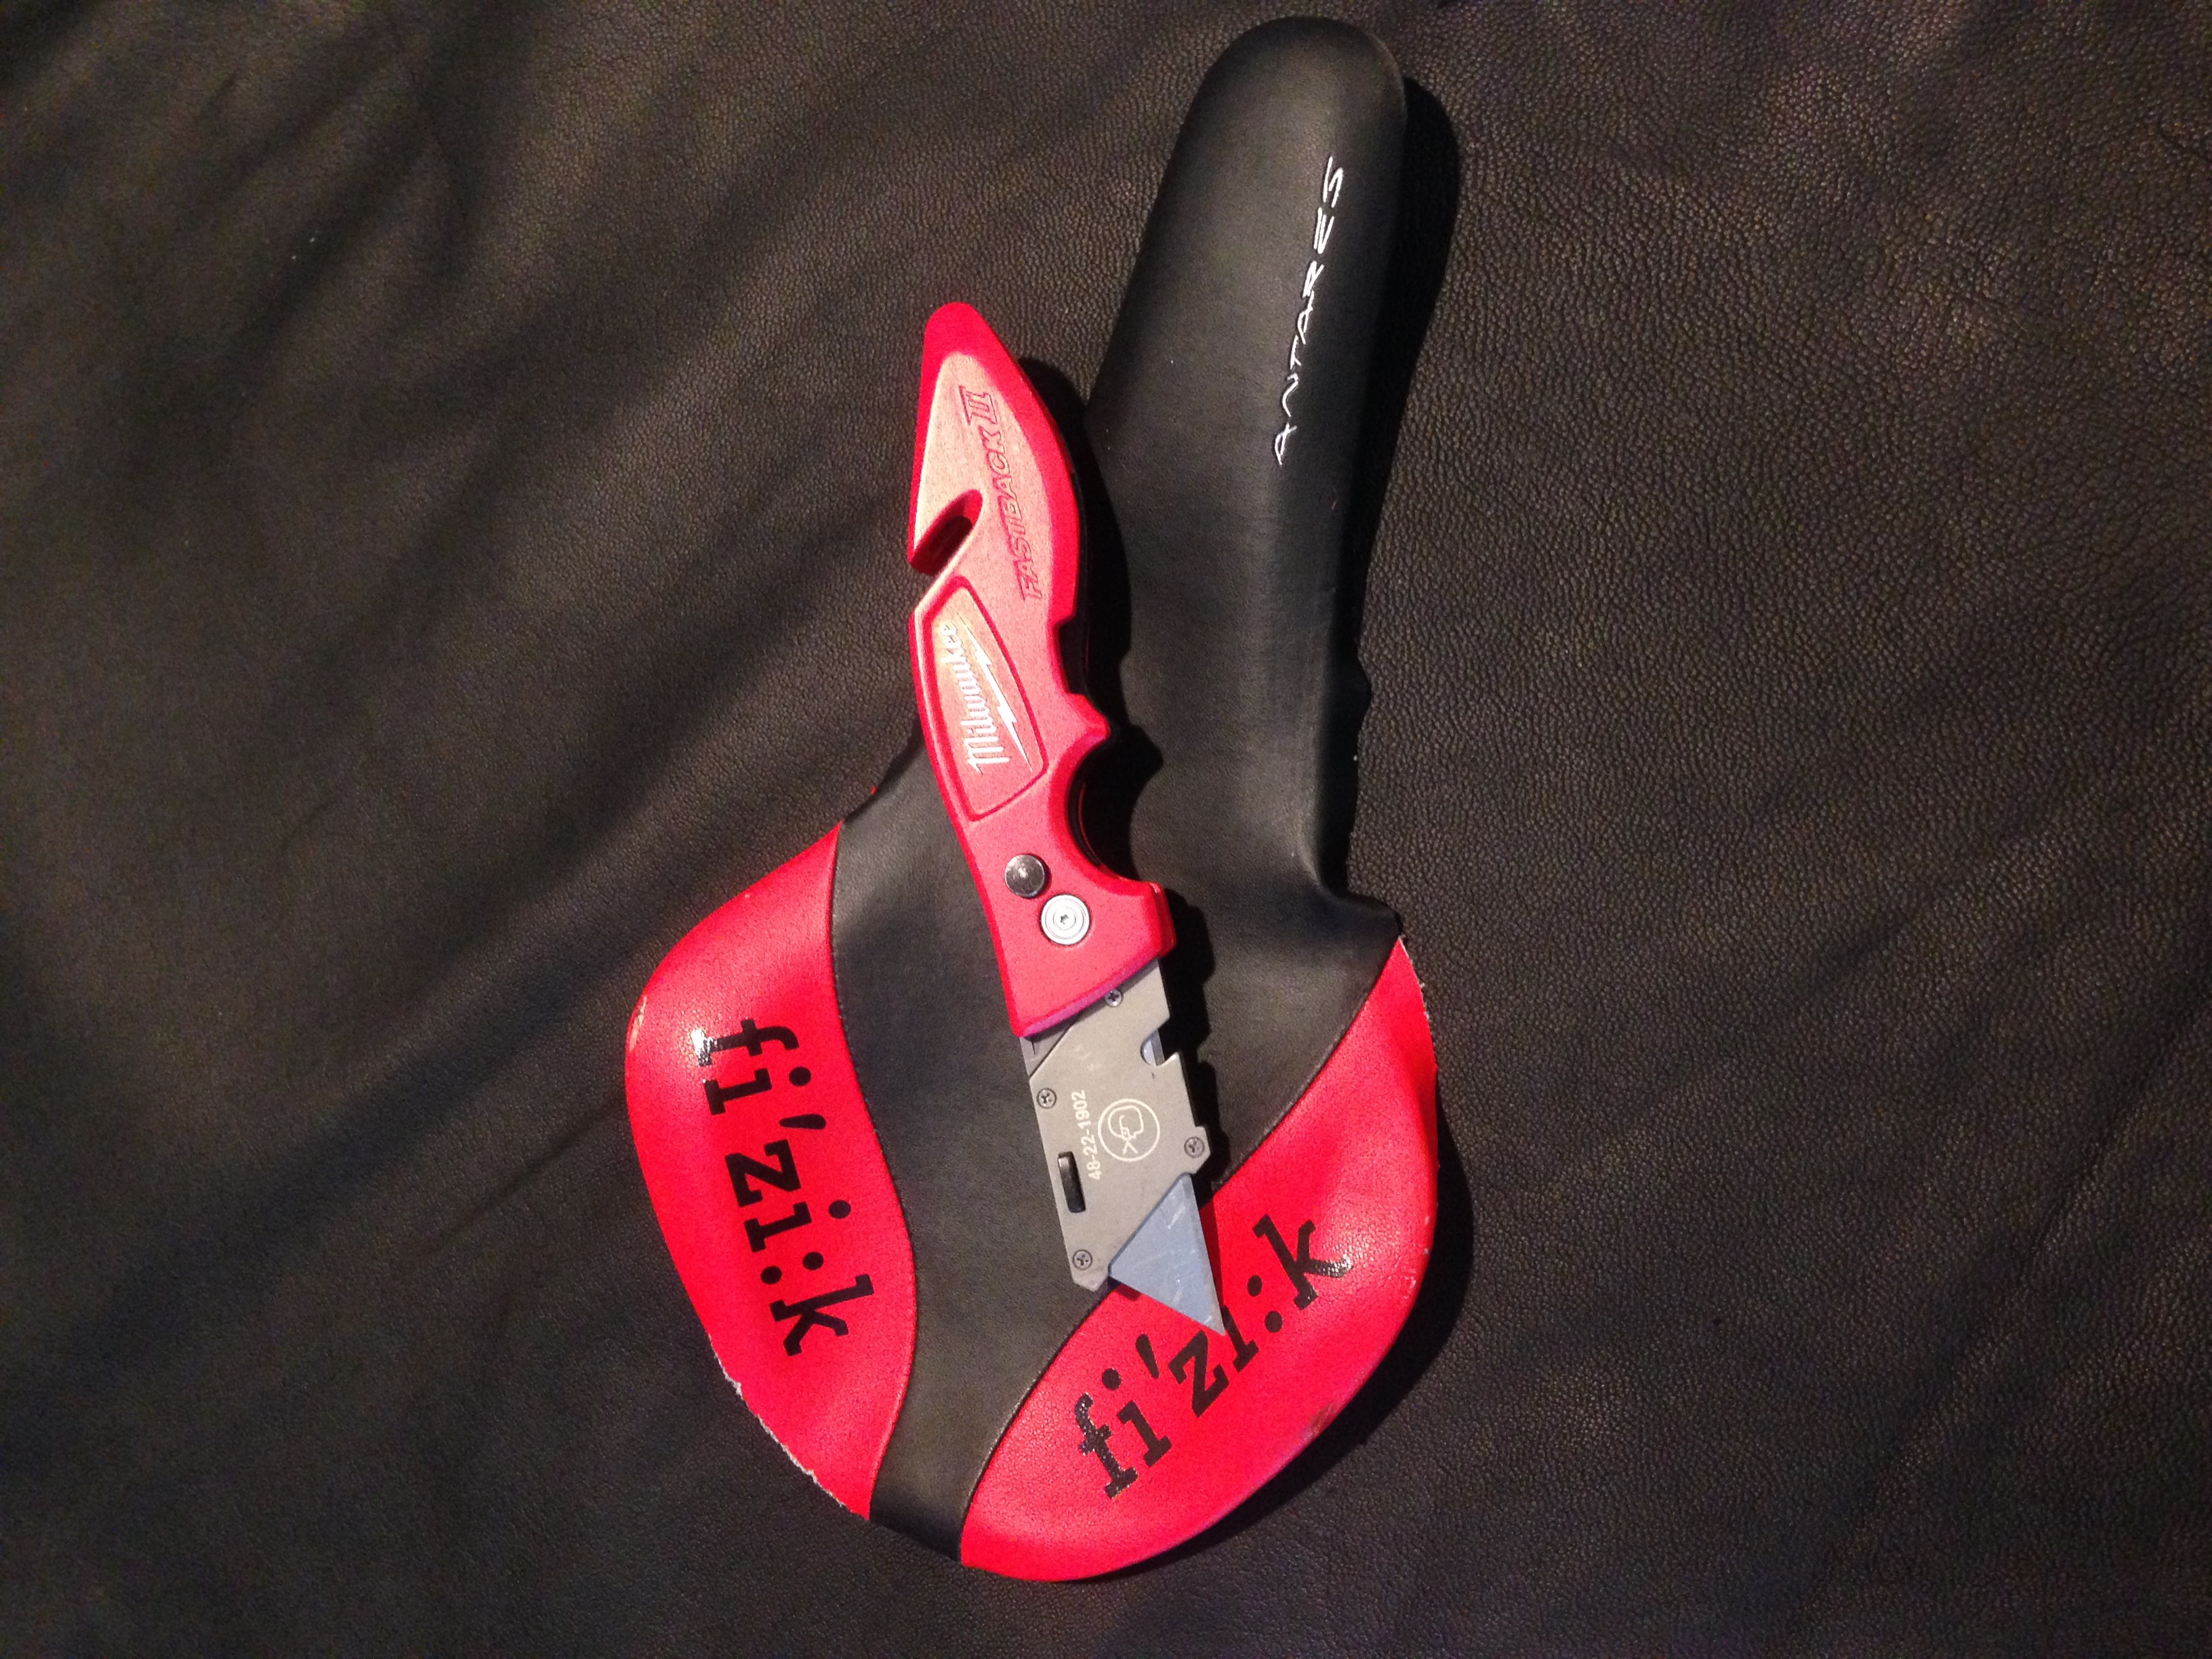
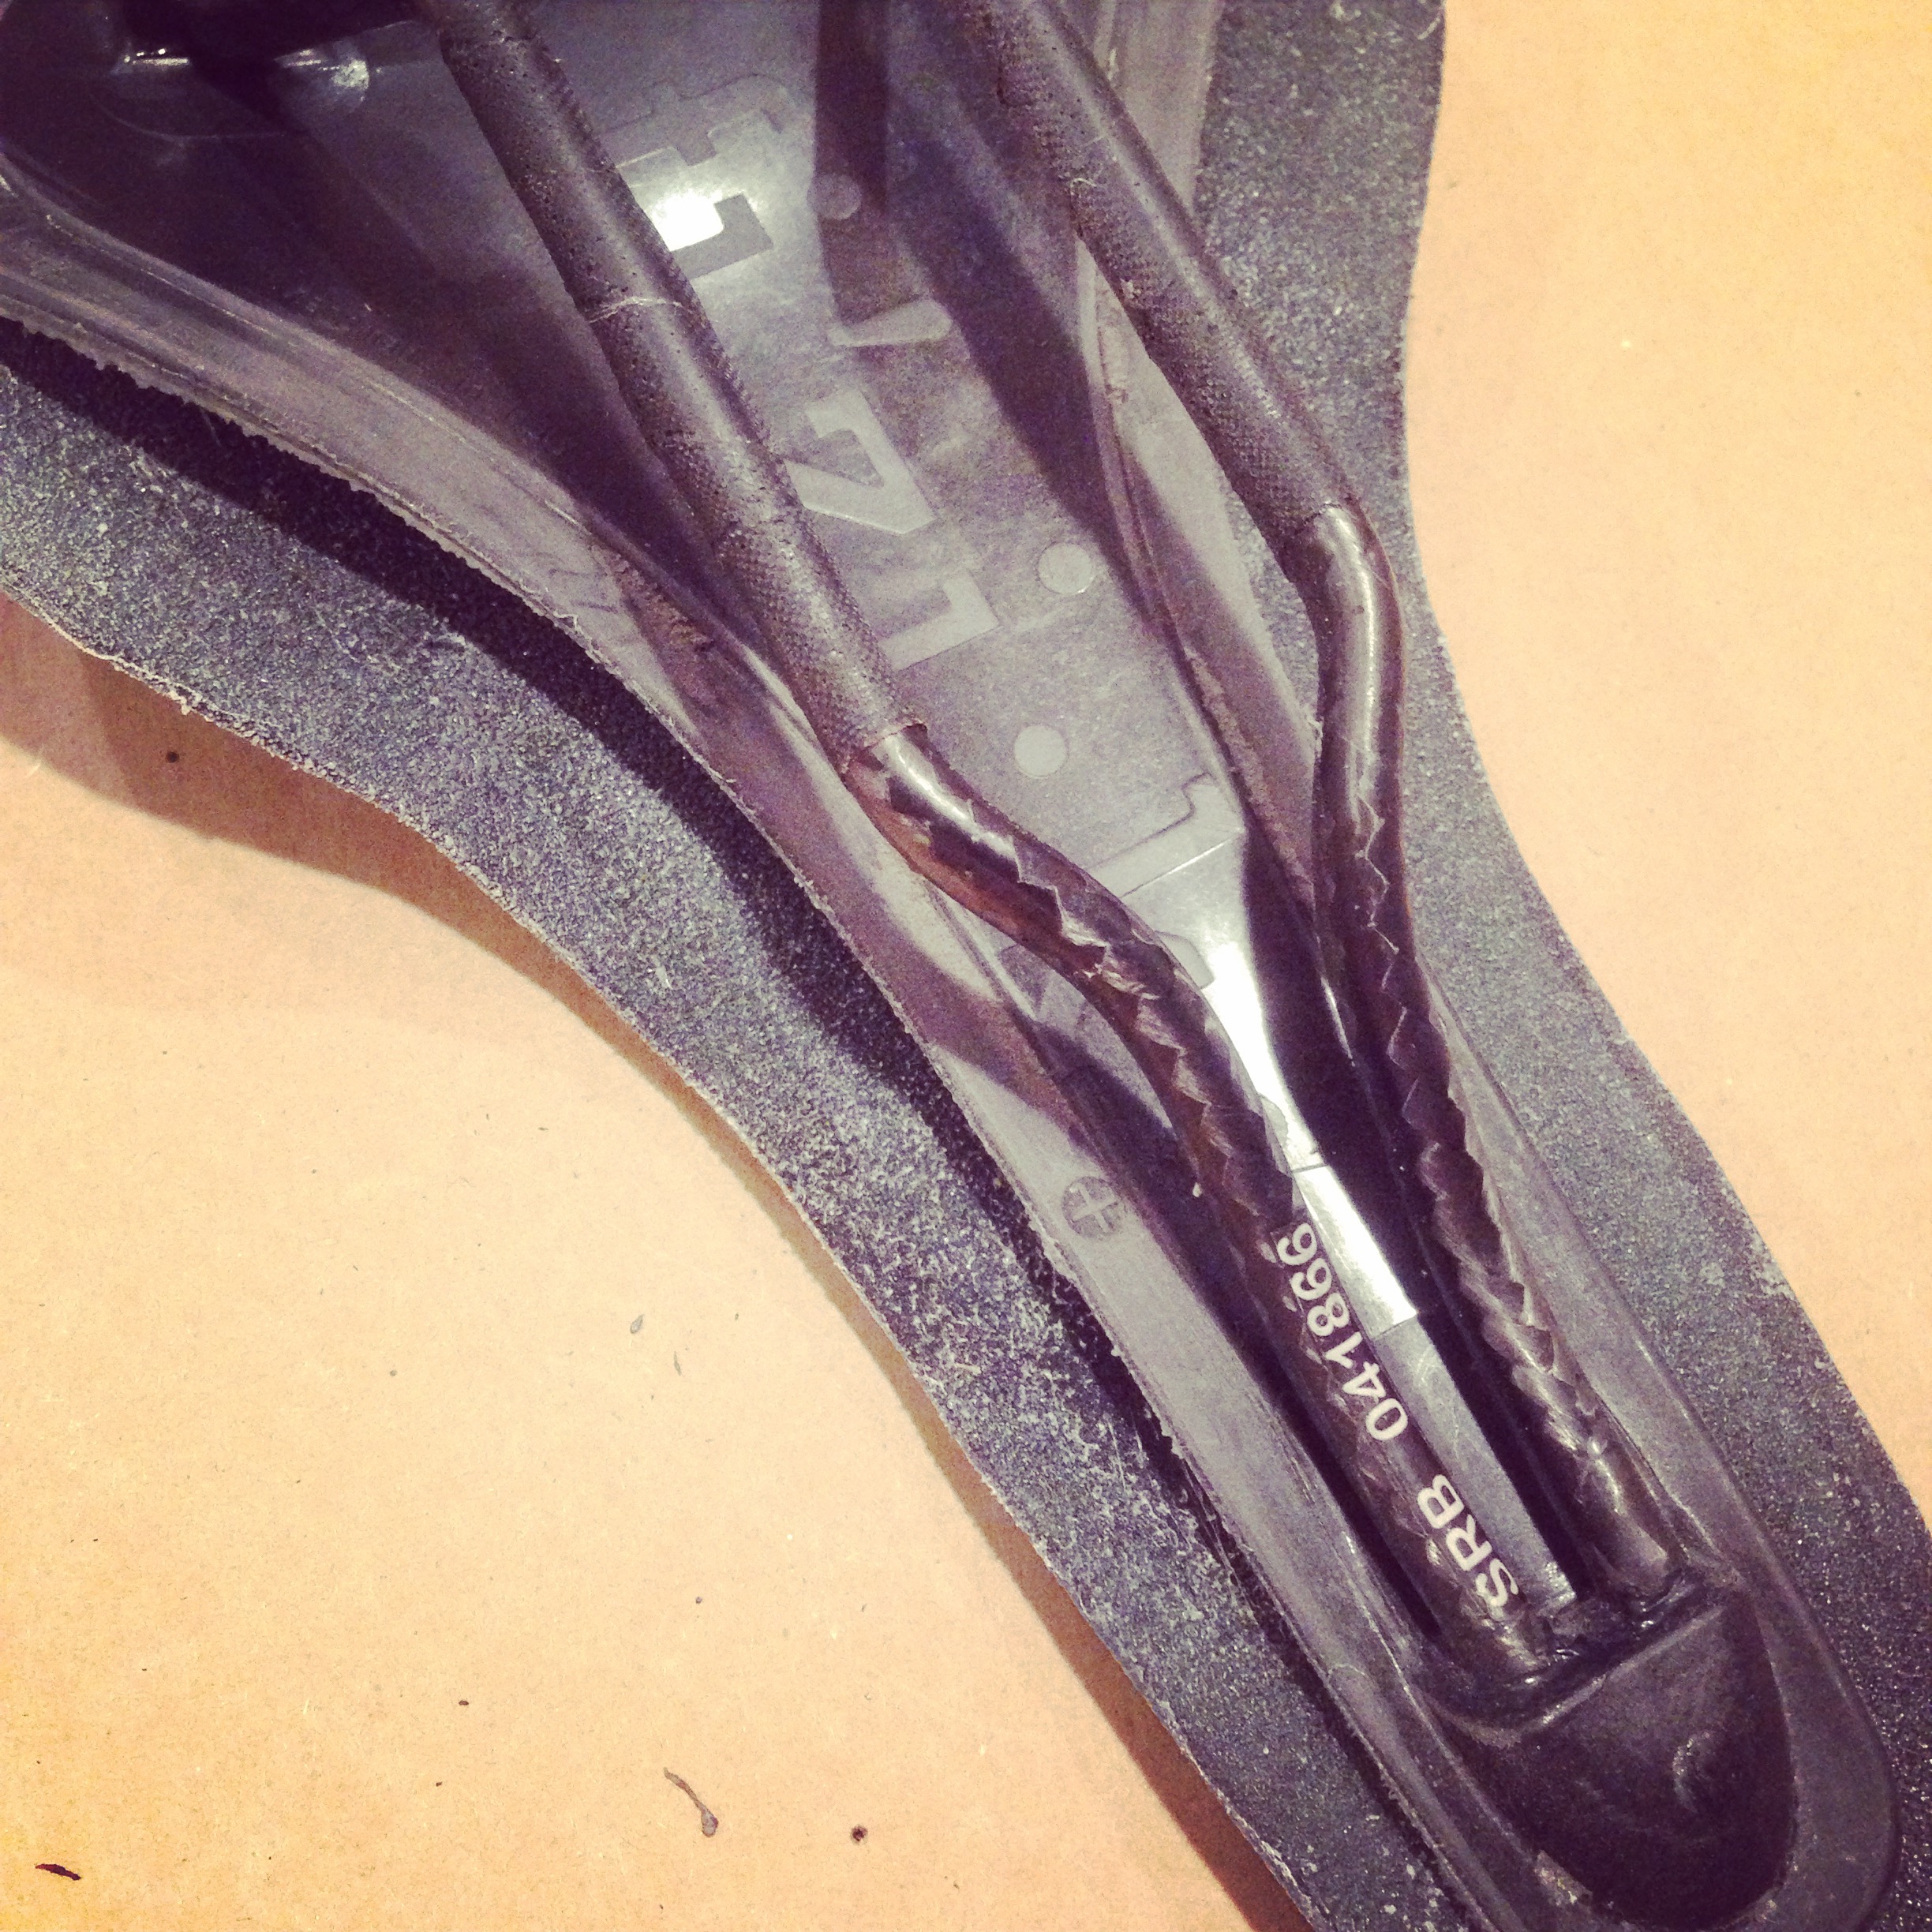
A few years ago I came across this Fizik Antares saddle (this is about equivalent to the current R1 model) that came from the Cervelo Test Team. It has a composite shell with braided carbon rails. At the time I was looking for something lighter and with carbon rails for some stiffness but vibration absorption. This saddle fit the the bill and hit the right marks, while matching my bike of course.
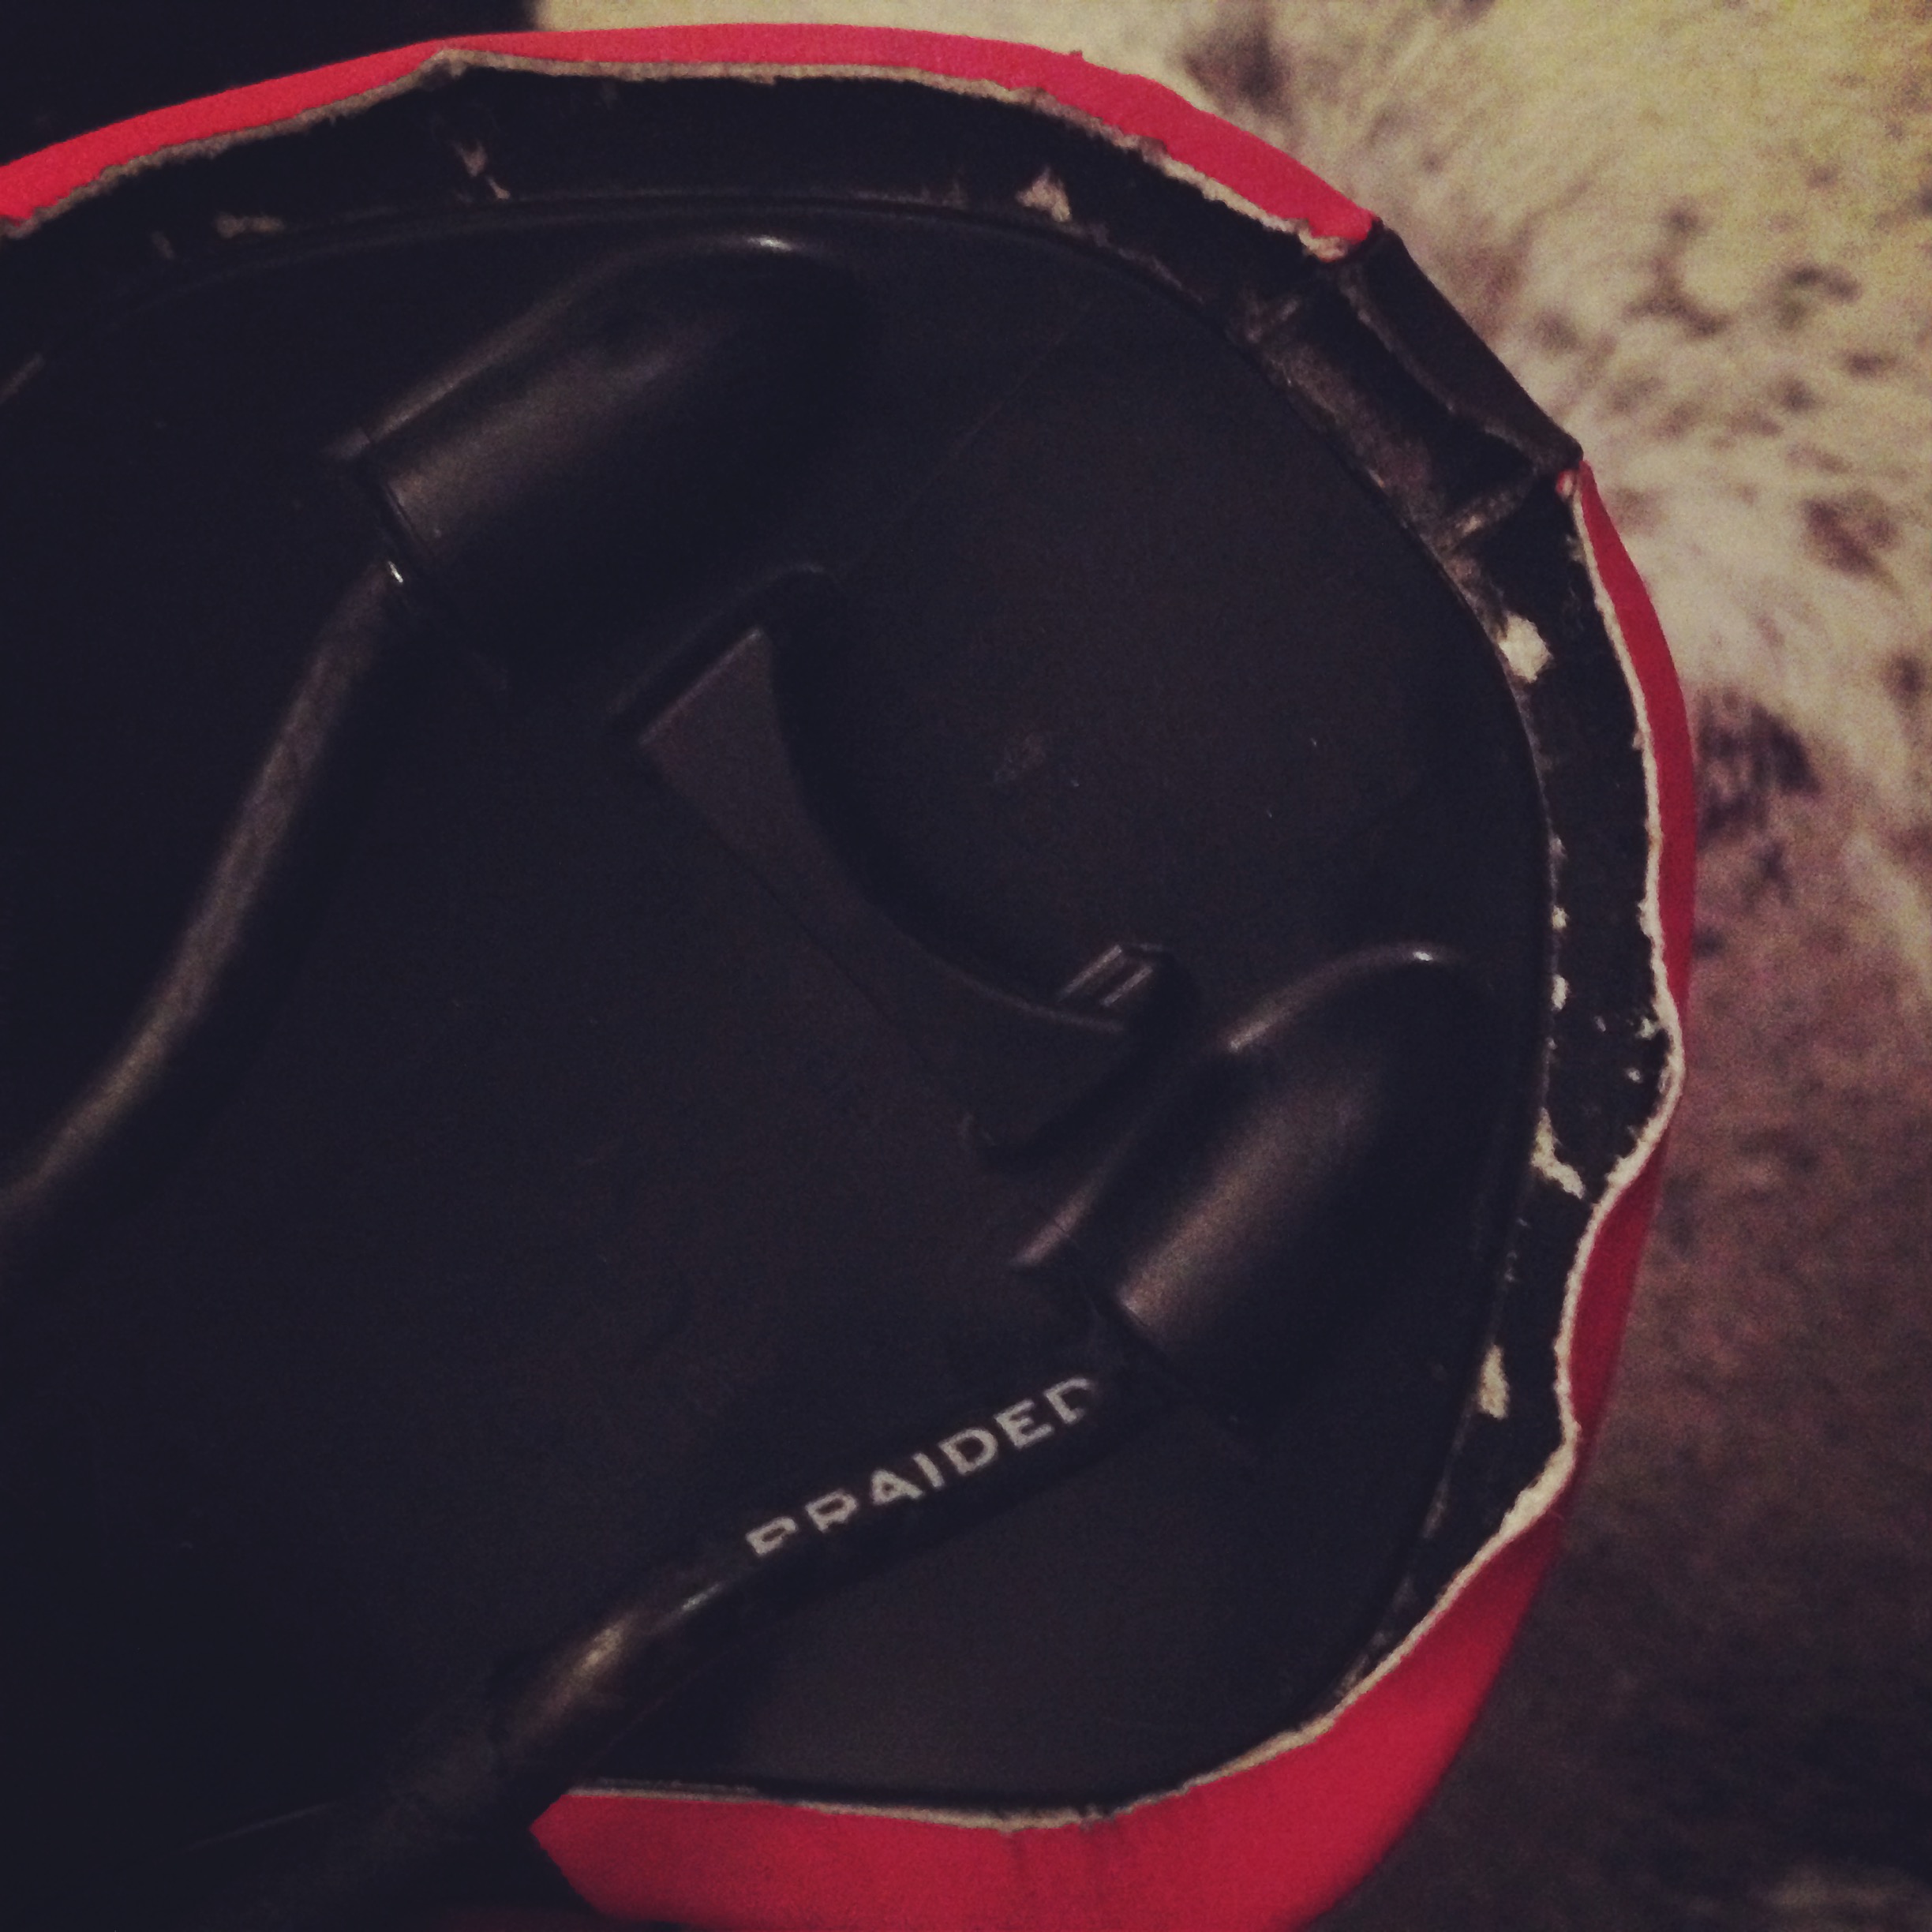
Early last season while on a climb my chain dropped off the back and caught the spokes. Stopping me dead. #rubbersideup I went and took a gash out of the saddle cover. The saddle was replaced with another from the closet but I couldn't just throw it away, I spent way too much time breaking it in.
Through a few blogs and DIY instructions as inspiration, I gathered up the muster to tackle a recovering. I researched how best to do it and where I could gather the supplies locally. So with time on my hands I gave it a go.
Materials:
- old saddle
- new cover material (I used scrap goat leather)
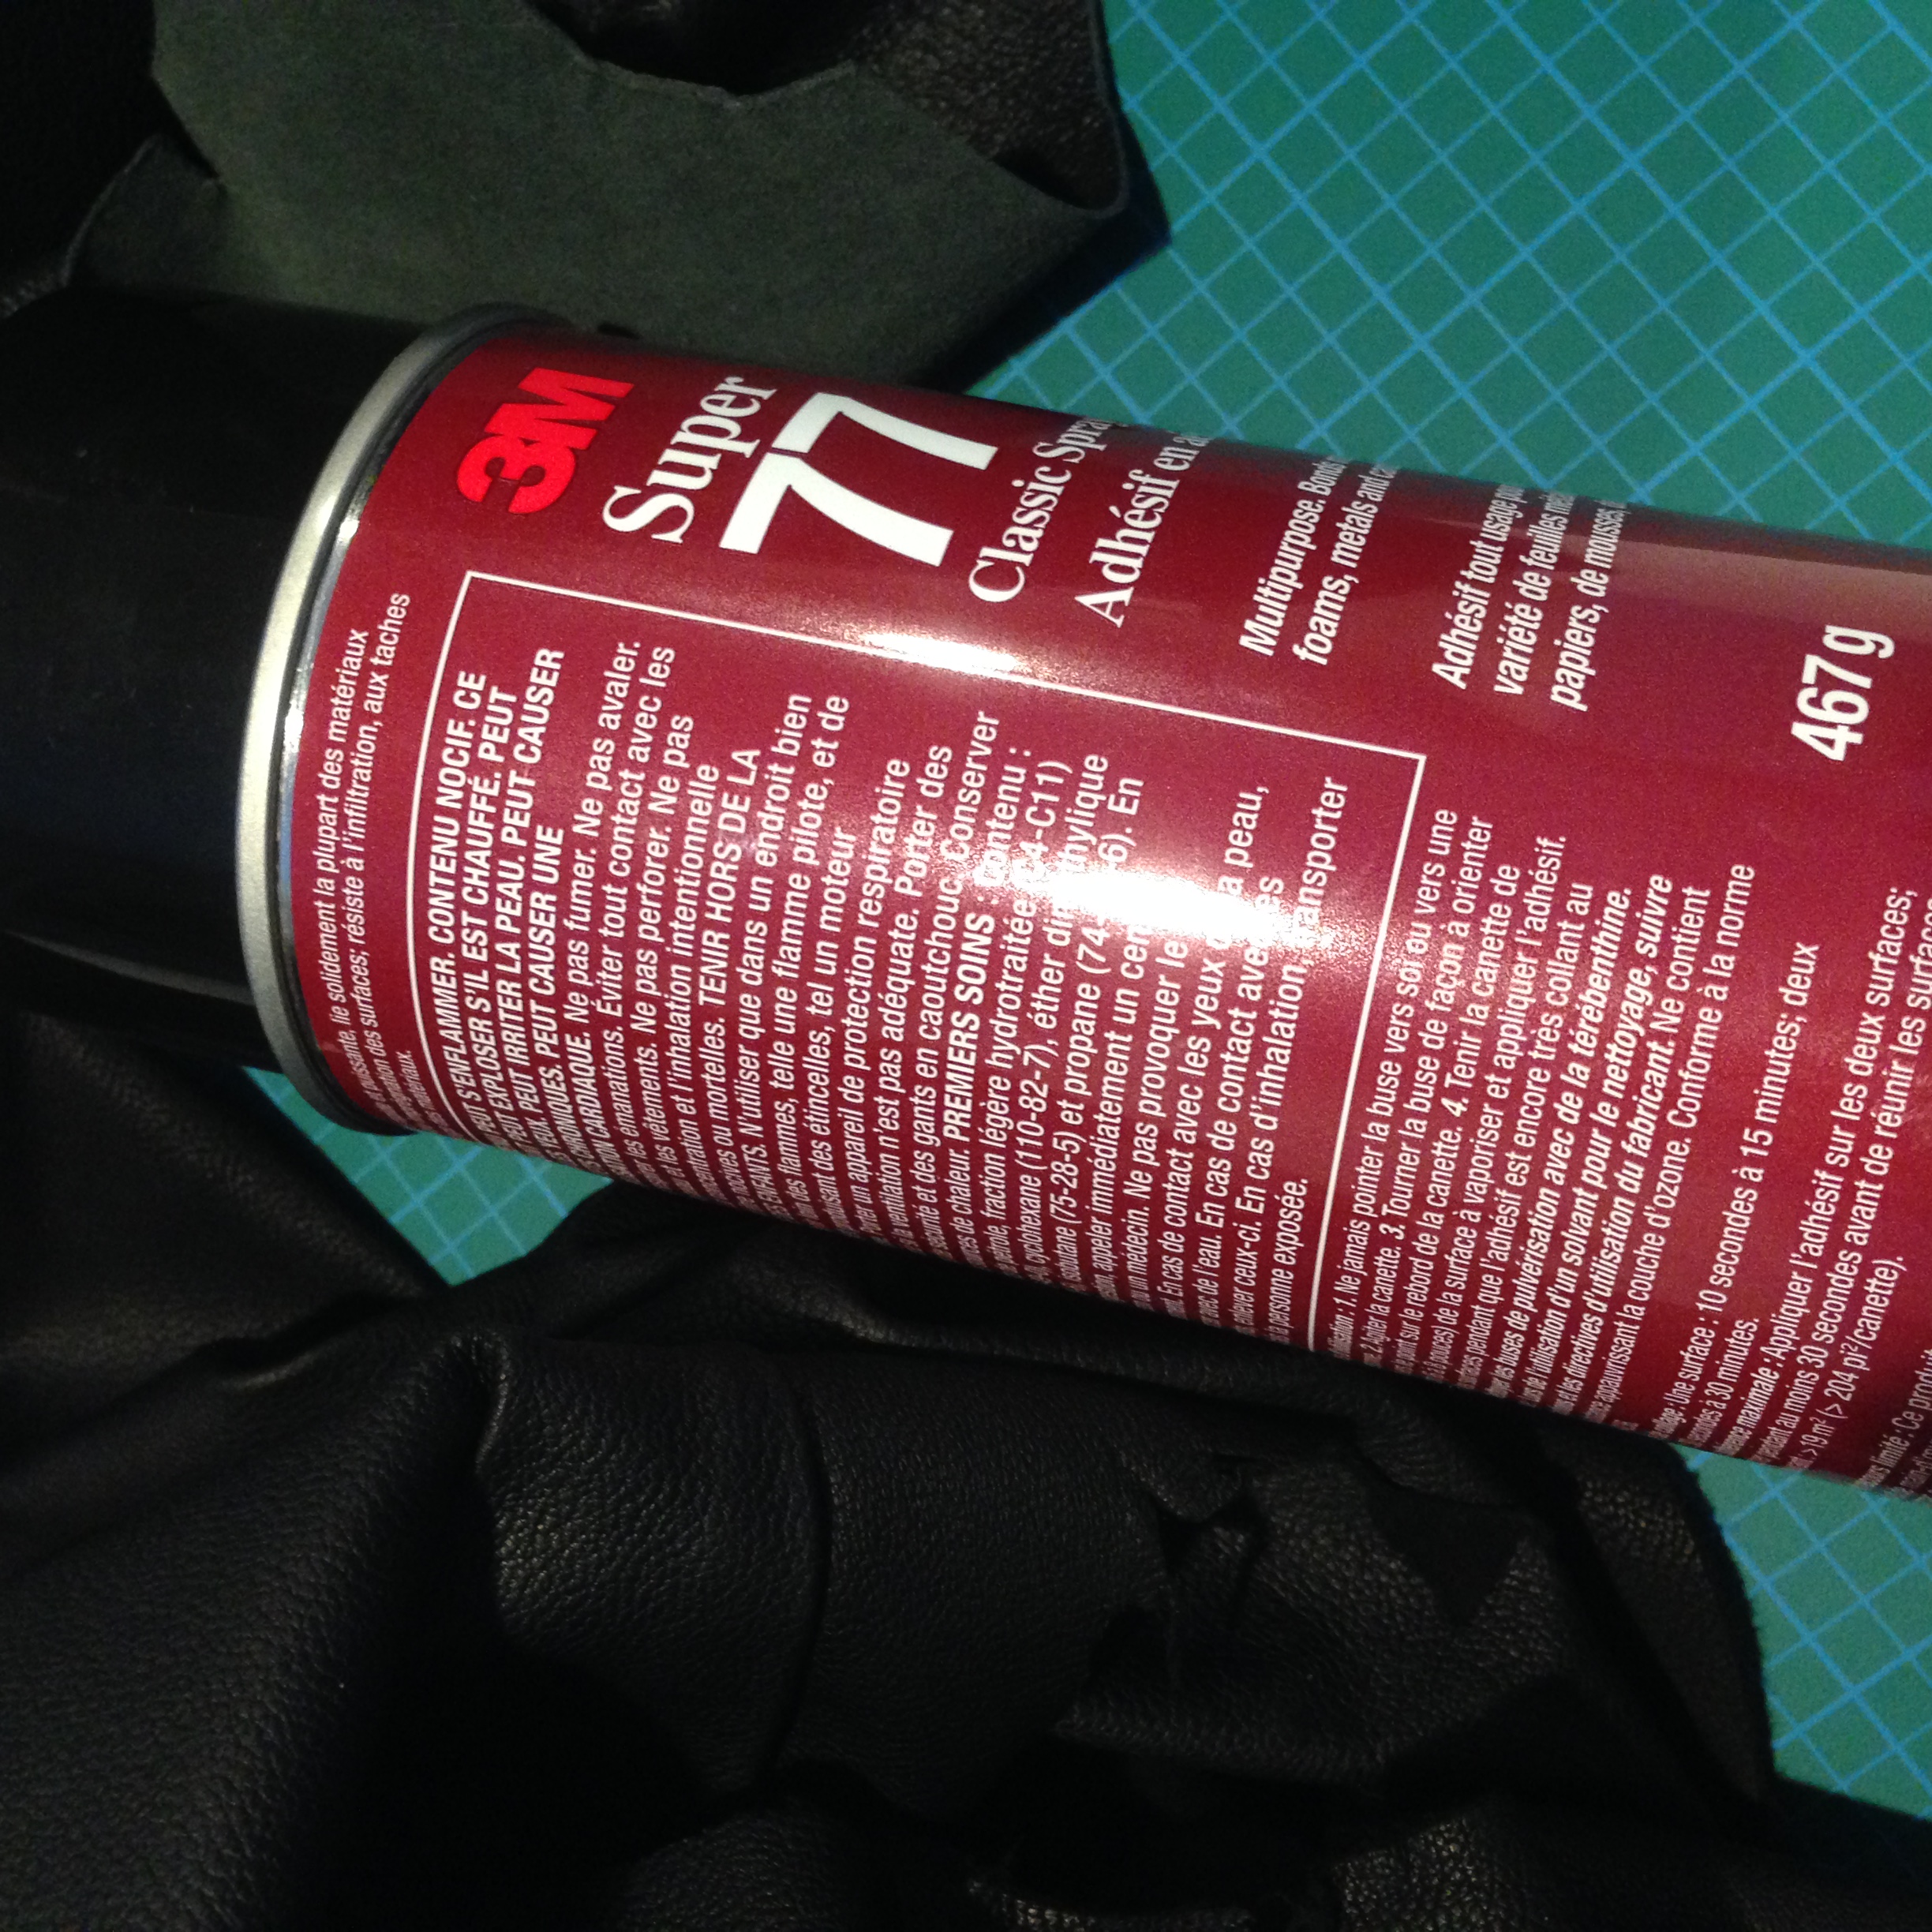
- spray adhesive (I used 3M Super 77)
- craft cutting board
- utility knife
- fine grit sandpaper
- plastic bag
Step 1:
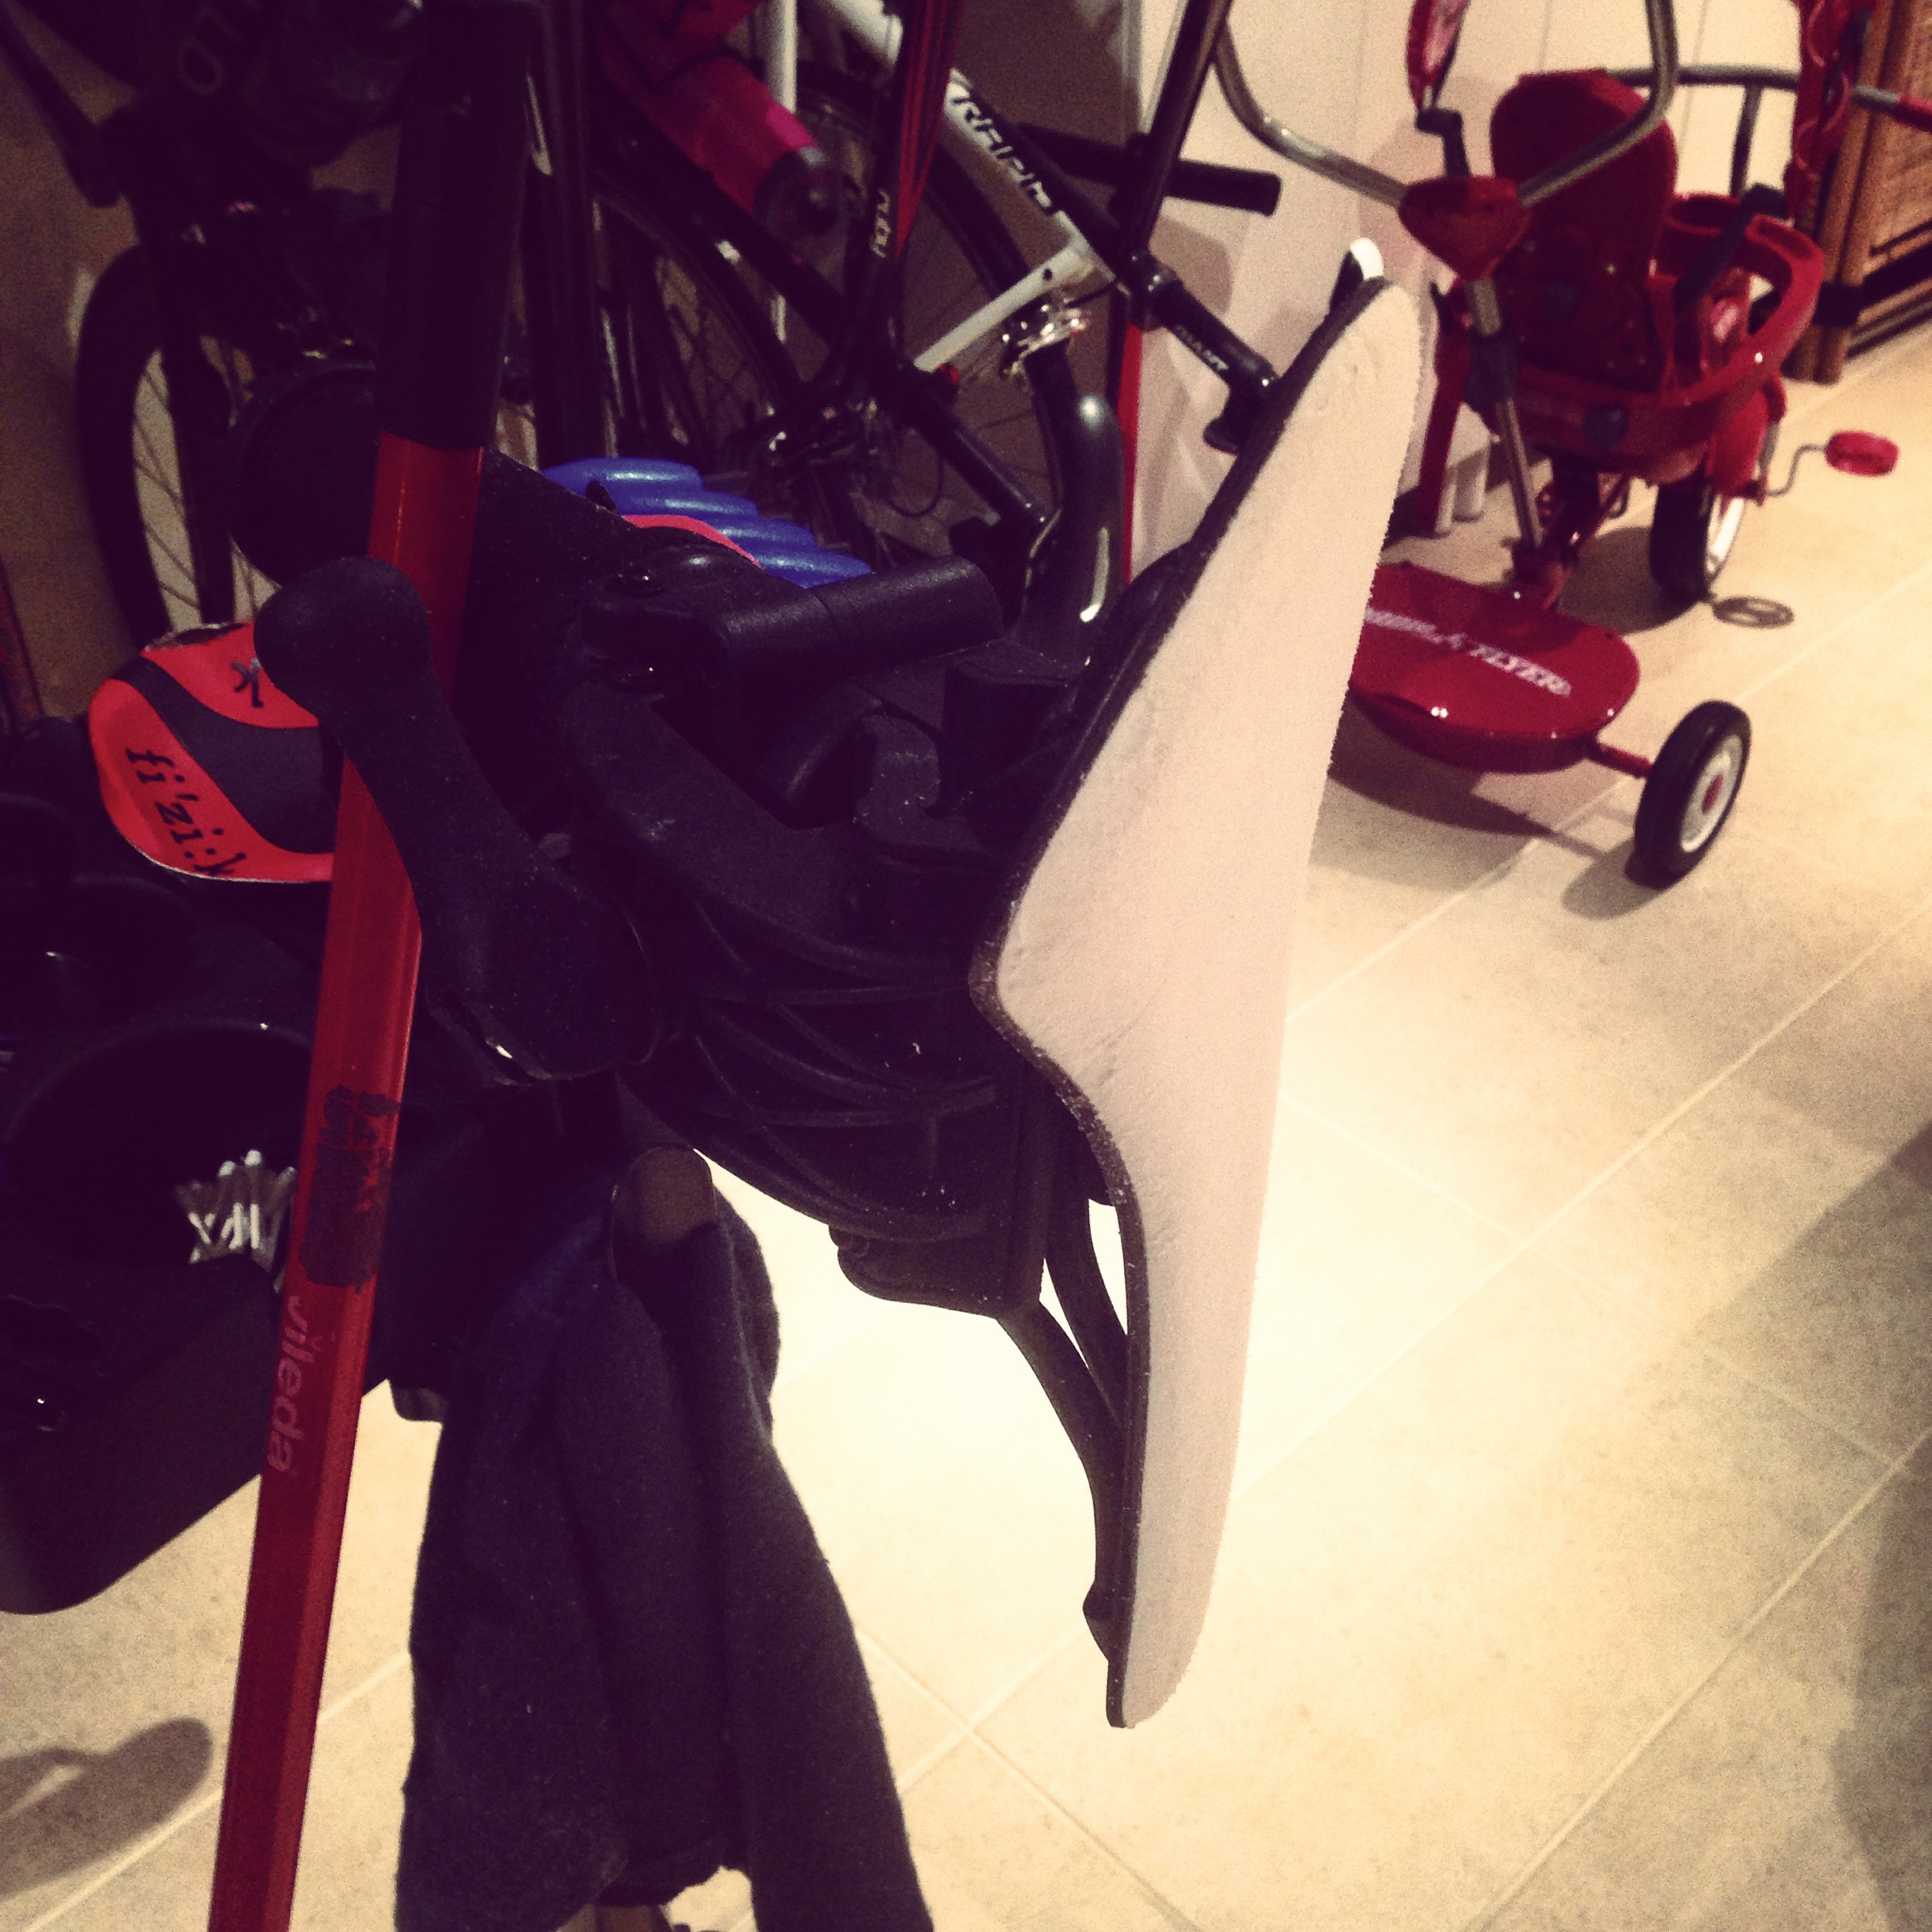
Carefully start to separate the cover from the saddle shell. This was relatively easy especially around the back and tip of the nose. Around the saddle rails on the side was hardest because space is far more limited there and you can't get really underneath easily.
Step 2:
The long process of separating the two parts. First, it is very important that you try as best you can to not damage or ruin the integrity and shape of the foam. If the adhesive is old and lost its tack, you may be able to gently pull and separate the two parts. If like my saddle, you will need something to help. I used a small pocket knife that I sharpened and when I lightly pulled them apart it would expose a bit of the adhesive to which is would gently touch with the knife edge to only cute the adhesive. This process I worked millimeter by millimeter.
Step 3:
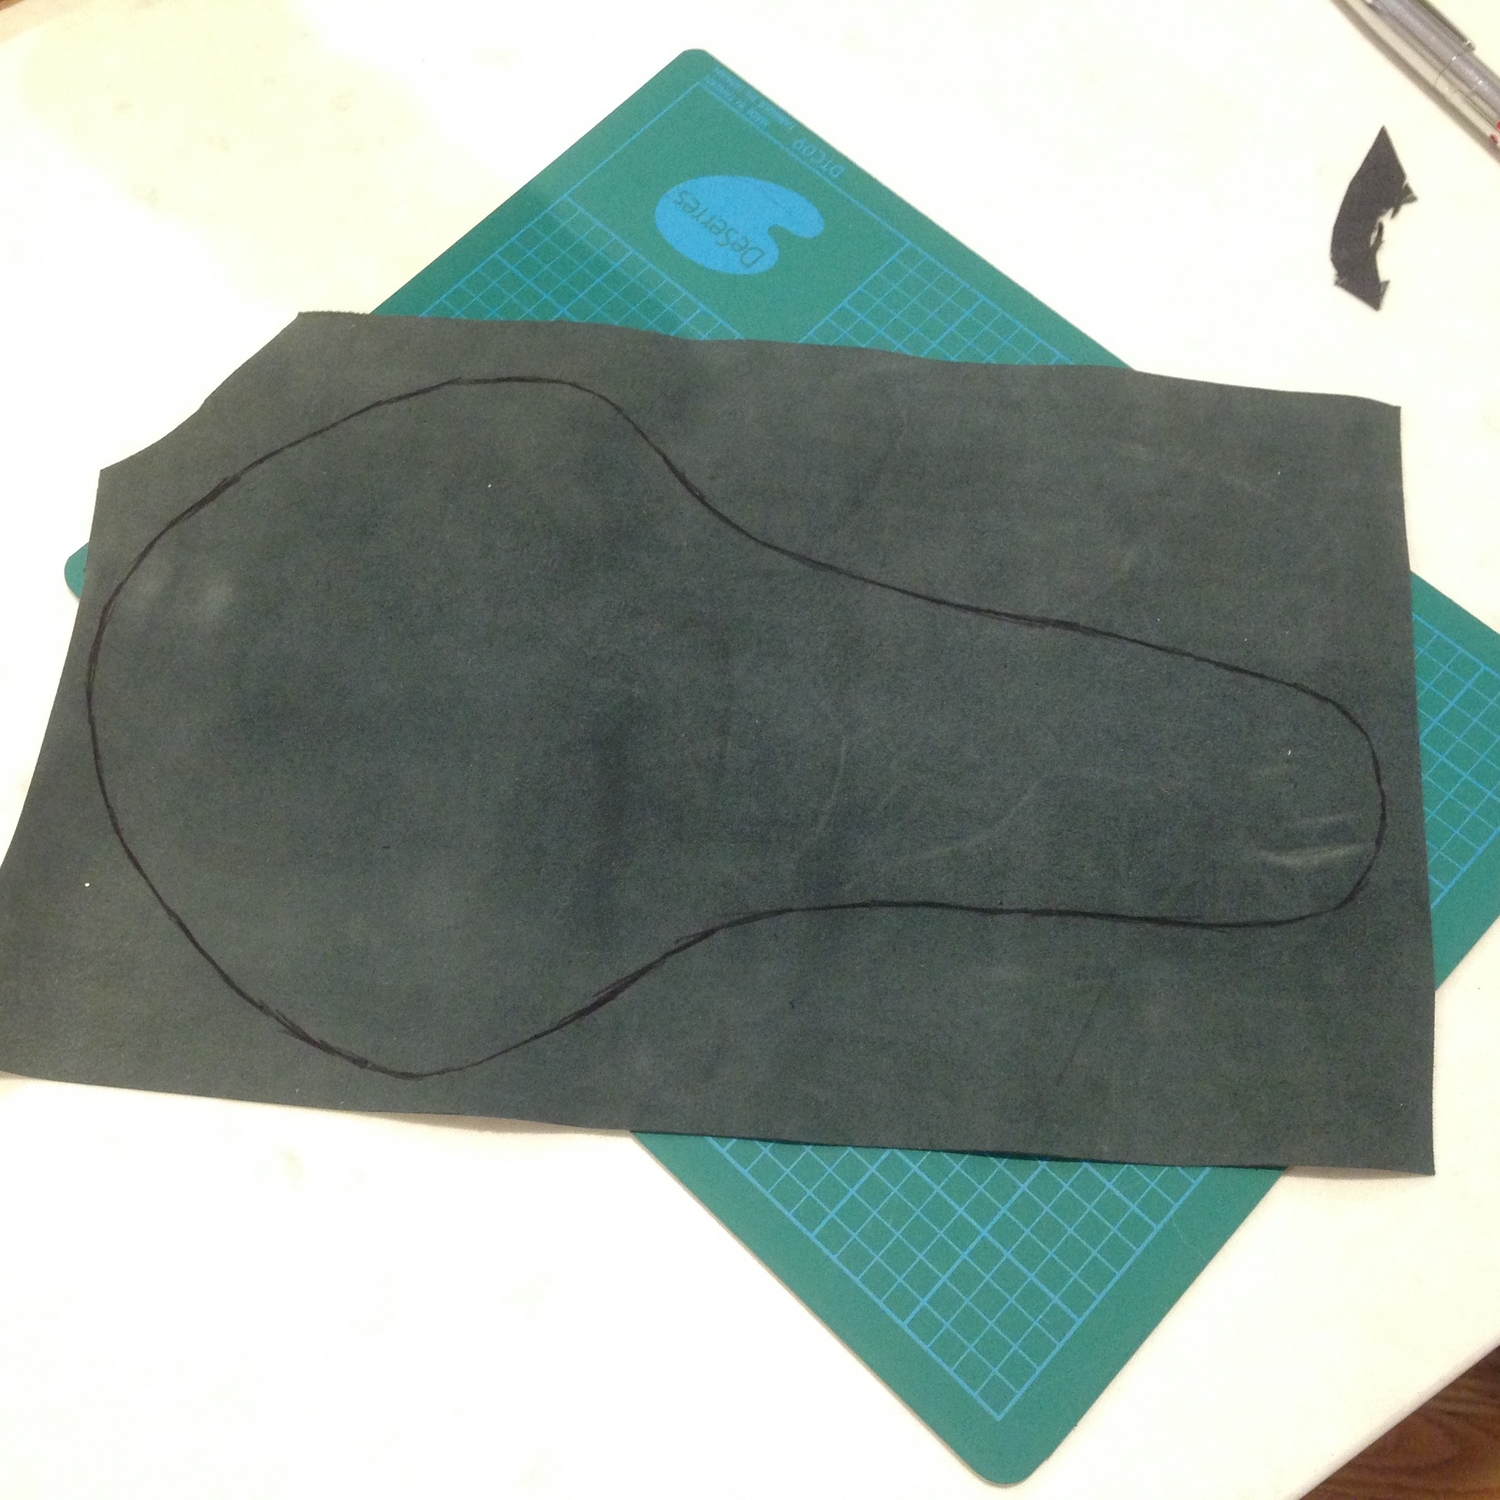

Trace a pattern. Using the old saddle cover and on the backside of your new cover material, trace a template pattern of the saddle cover shape. Lay it as flat as possible but don't over stretch it. You can use something heavy to hold it in place while you trace around it.
Step 4:
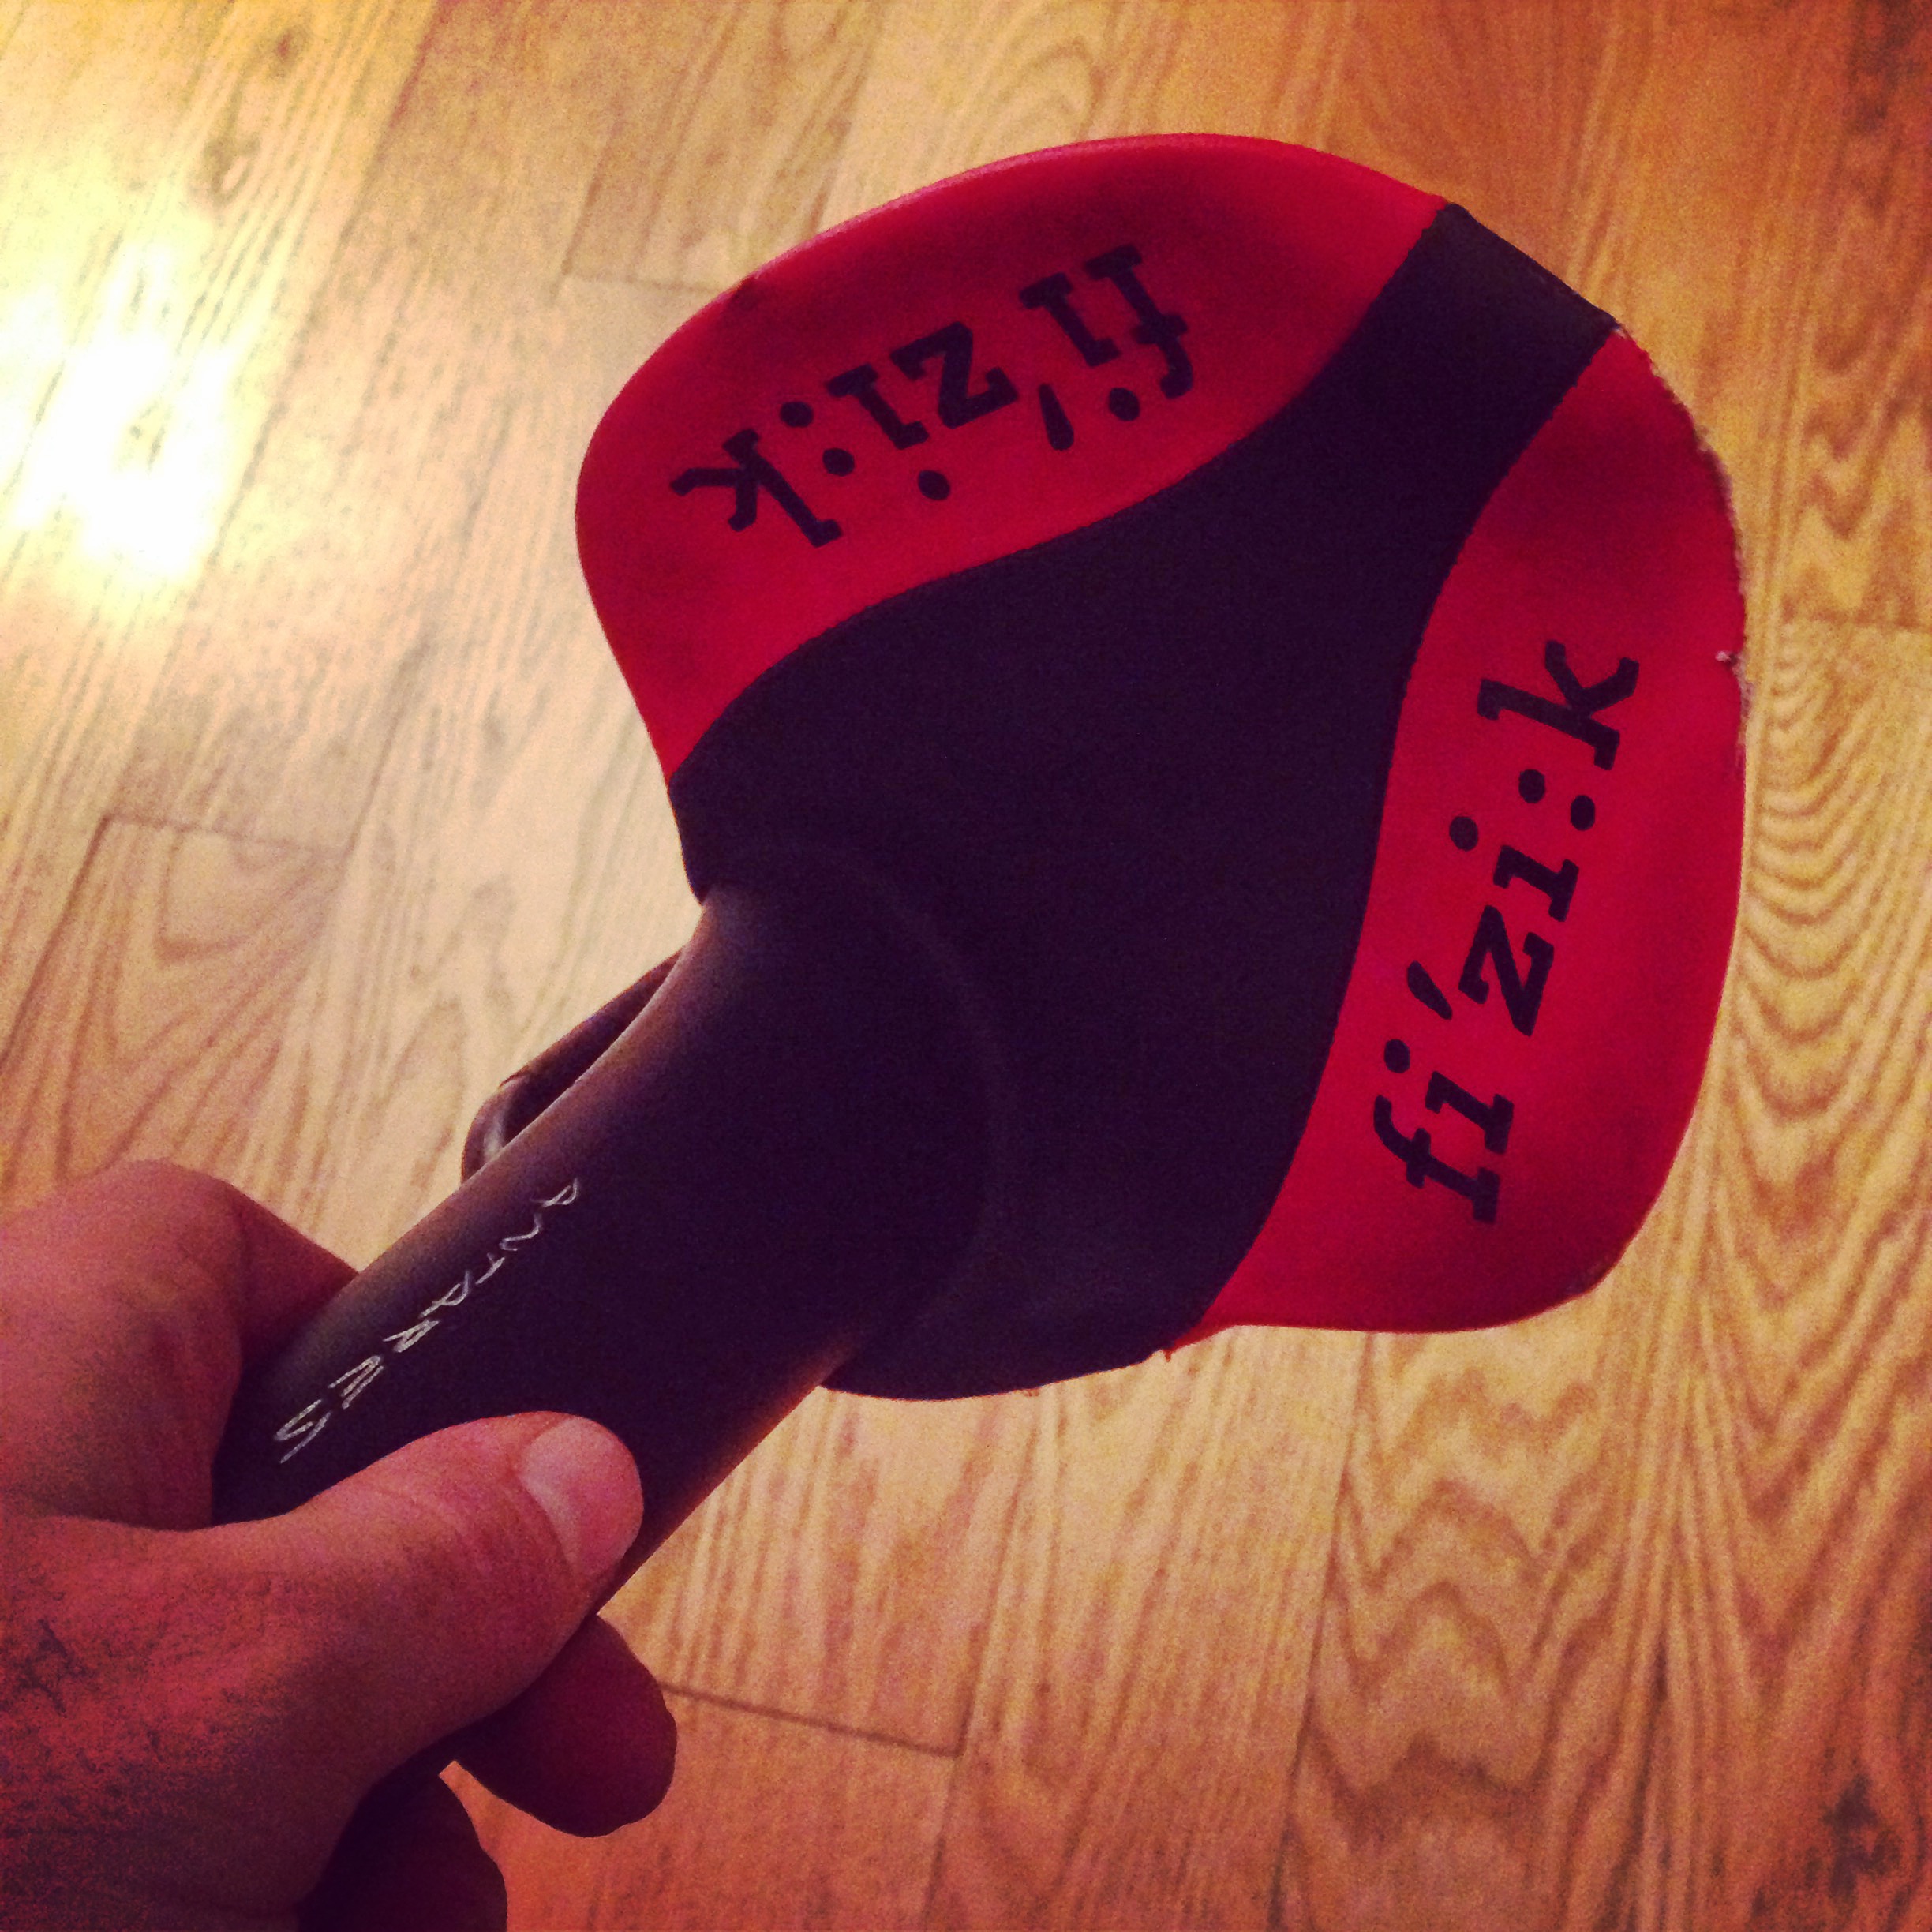
A new cover is born. Using a utility knife and cutting board, cut the new cover out of the new material you just traced. Try to make as clean an edge as possible.
Step 5:
Prep the saddle. While removing the saddle, you possibly nicked it somewhere or some foam came off on the old cover. Maybe the foam had some older wear damage. Either way, this is your chance to fix that. Using some very light grit sandpaper and some patience you can sand the foam gently to remove and smooth out any imperfections. Or, you can change the shaping on the foam if you like. I wanted something a little flatter like the Fizik Arione so I gave it a general light shaving in the back to just bring it to a slightly flatter shape. I also wanted it to be a bit wider side to side so I took a bit off the top and made its profile a little less curved. Go slow, very slow. Keep checking progress by holding the saddle up from different angles to see how it's going. Remember, slowly. You can't put the foam back once it's gone. (Tip: I used a bike stand to hold the saddle while I sanded to I could keep it steady)
Step 6:
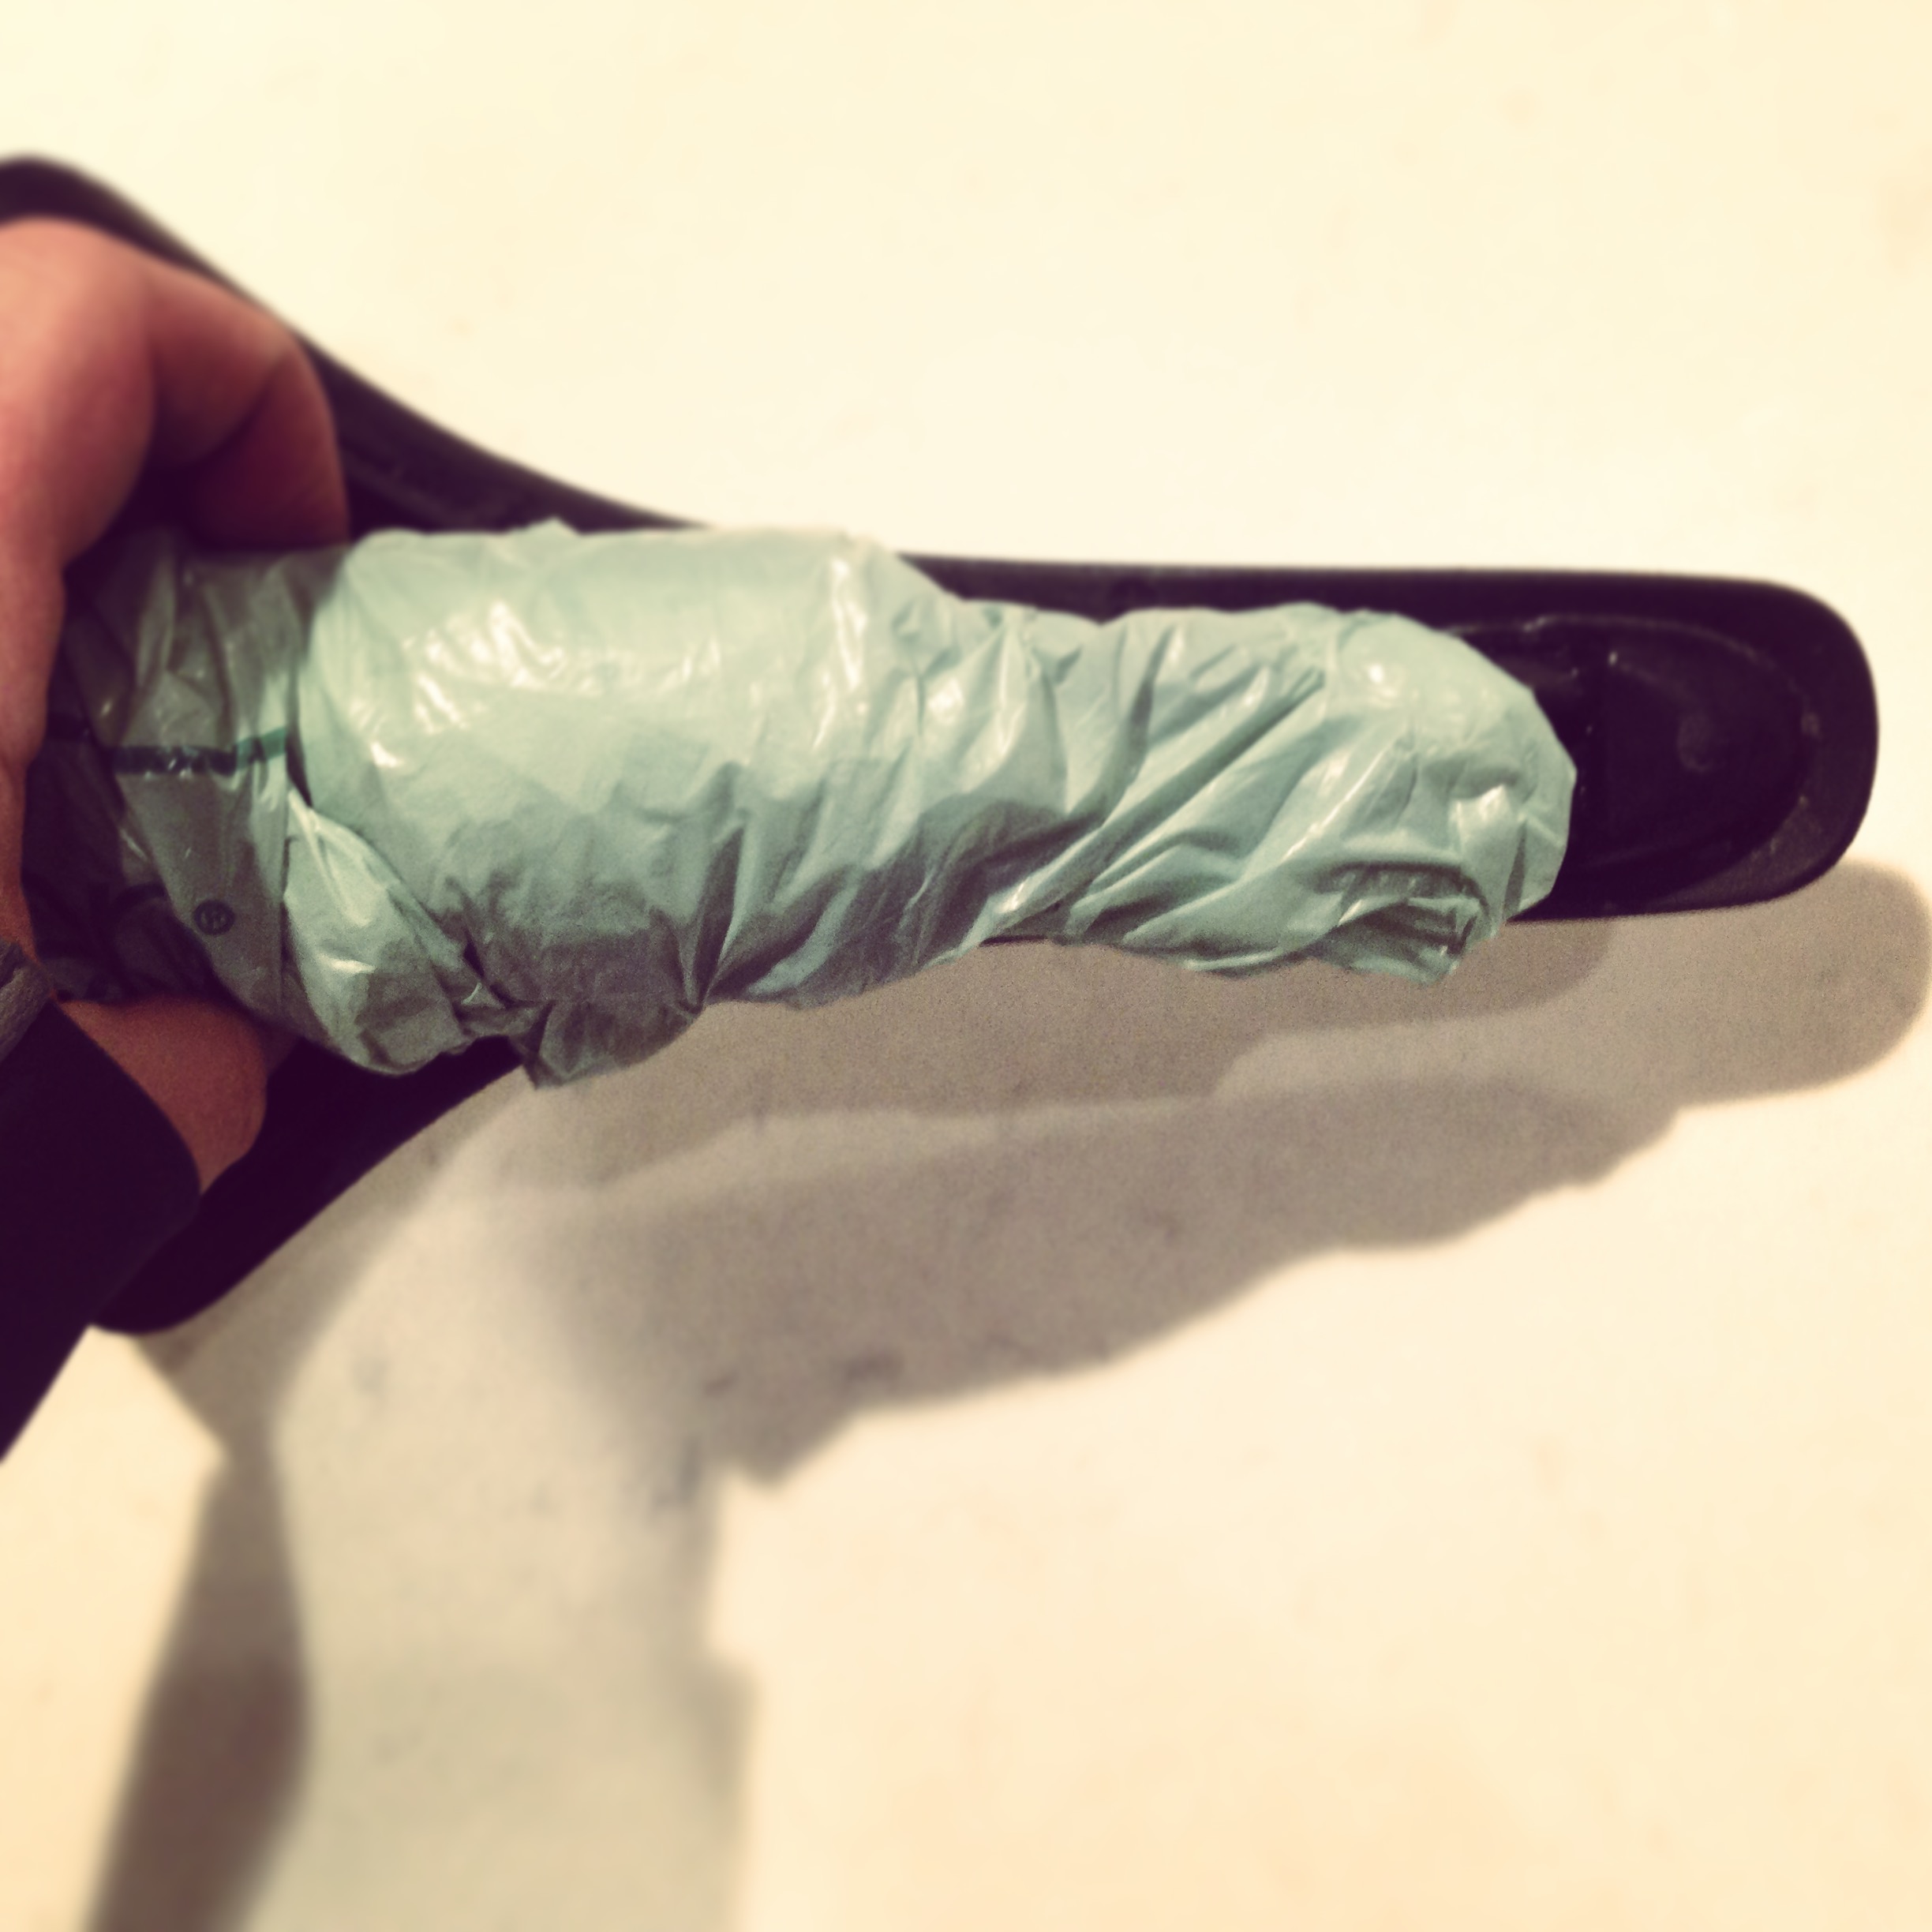
Sticky. Using a spray adhesive (I used 3M Super 77) spray both the underside of the new cover and the foam. I did one coat, then waited ten minutes then coated again. Tip: the spray adhesive over sprays so protect the underside and rails by covering them. I used a grocery bag wrapped around. Worked perfectly. (Tip: do this outside in a well vented area)
Step 7:
Mating. This is the nerve racking part where you attach the two together. The adhesive has some setting time so if you miss or misaligned you should be able to pull them apart and try again. But, work quickly. I practiced this about a dozen times on dry materials (before applying adhesive) before I was ready to try it. Lay the cover sticky side up on the cutting board, then gently and flatly lay the saddle sticky side down onto the cover. When they are in the right spots push down and give them a good bit of pressure to bond. Holding the rails, I rolled the saddle side to side to stick the two together. At this point I flipped the saddle over and smoothed it out and pressed it out with my fingers and the ball of my hand.
Step 8:
Finishing. Flipping the saddle back upside down, I pulled on the edges of the new cover and pressed them down to the saddle shell. Some people use contact cement or more adhesive on the shell but I found the tack of the spray adhesive on the cover was good and strong enough to hold. I stretched the new cover around the edges and pressed onto the underside of the shell. Here I used a hard tool to press the cover to the shell. Flip the saddle back to right side up/rails down and use your hands and fingers to smooth out the cover, stretch anywhere that looks stressed, and push the material to the foam to make sure they are bonded. (Tip: where the cover wants to bunch, I used the utility knife to cut relief slits so I could overlap rather than have large bunched material)
Step 9:
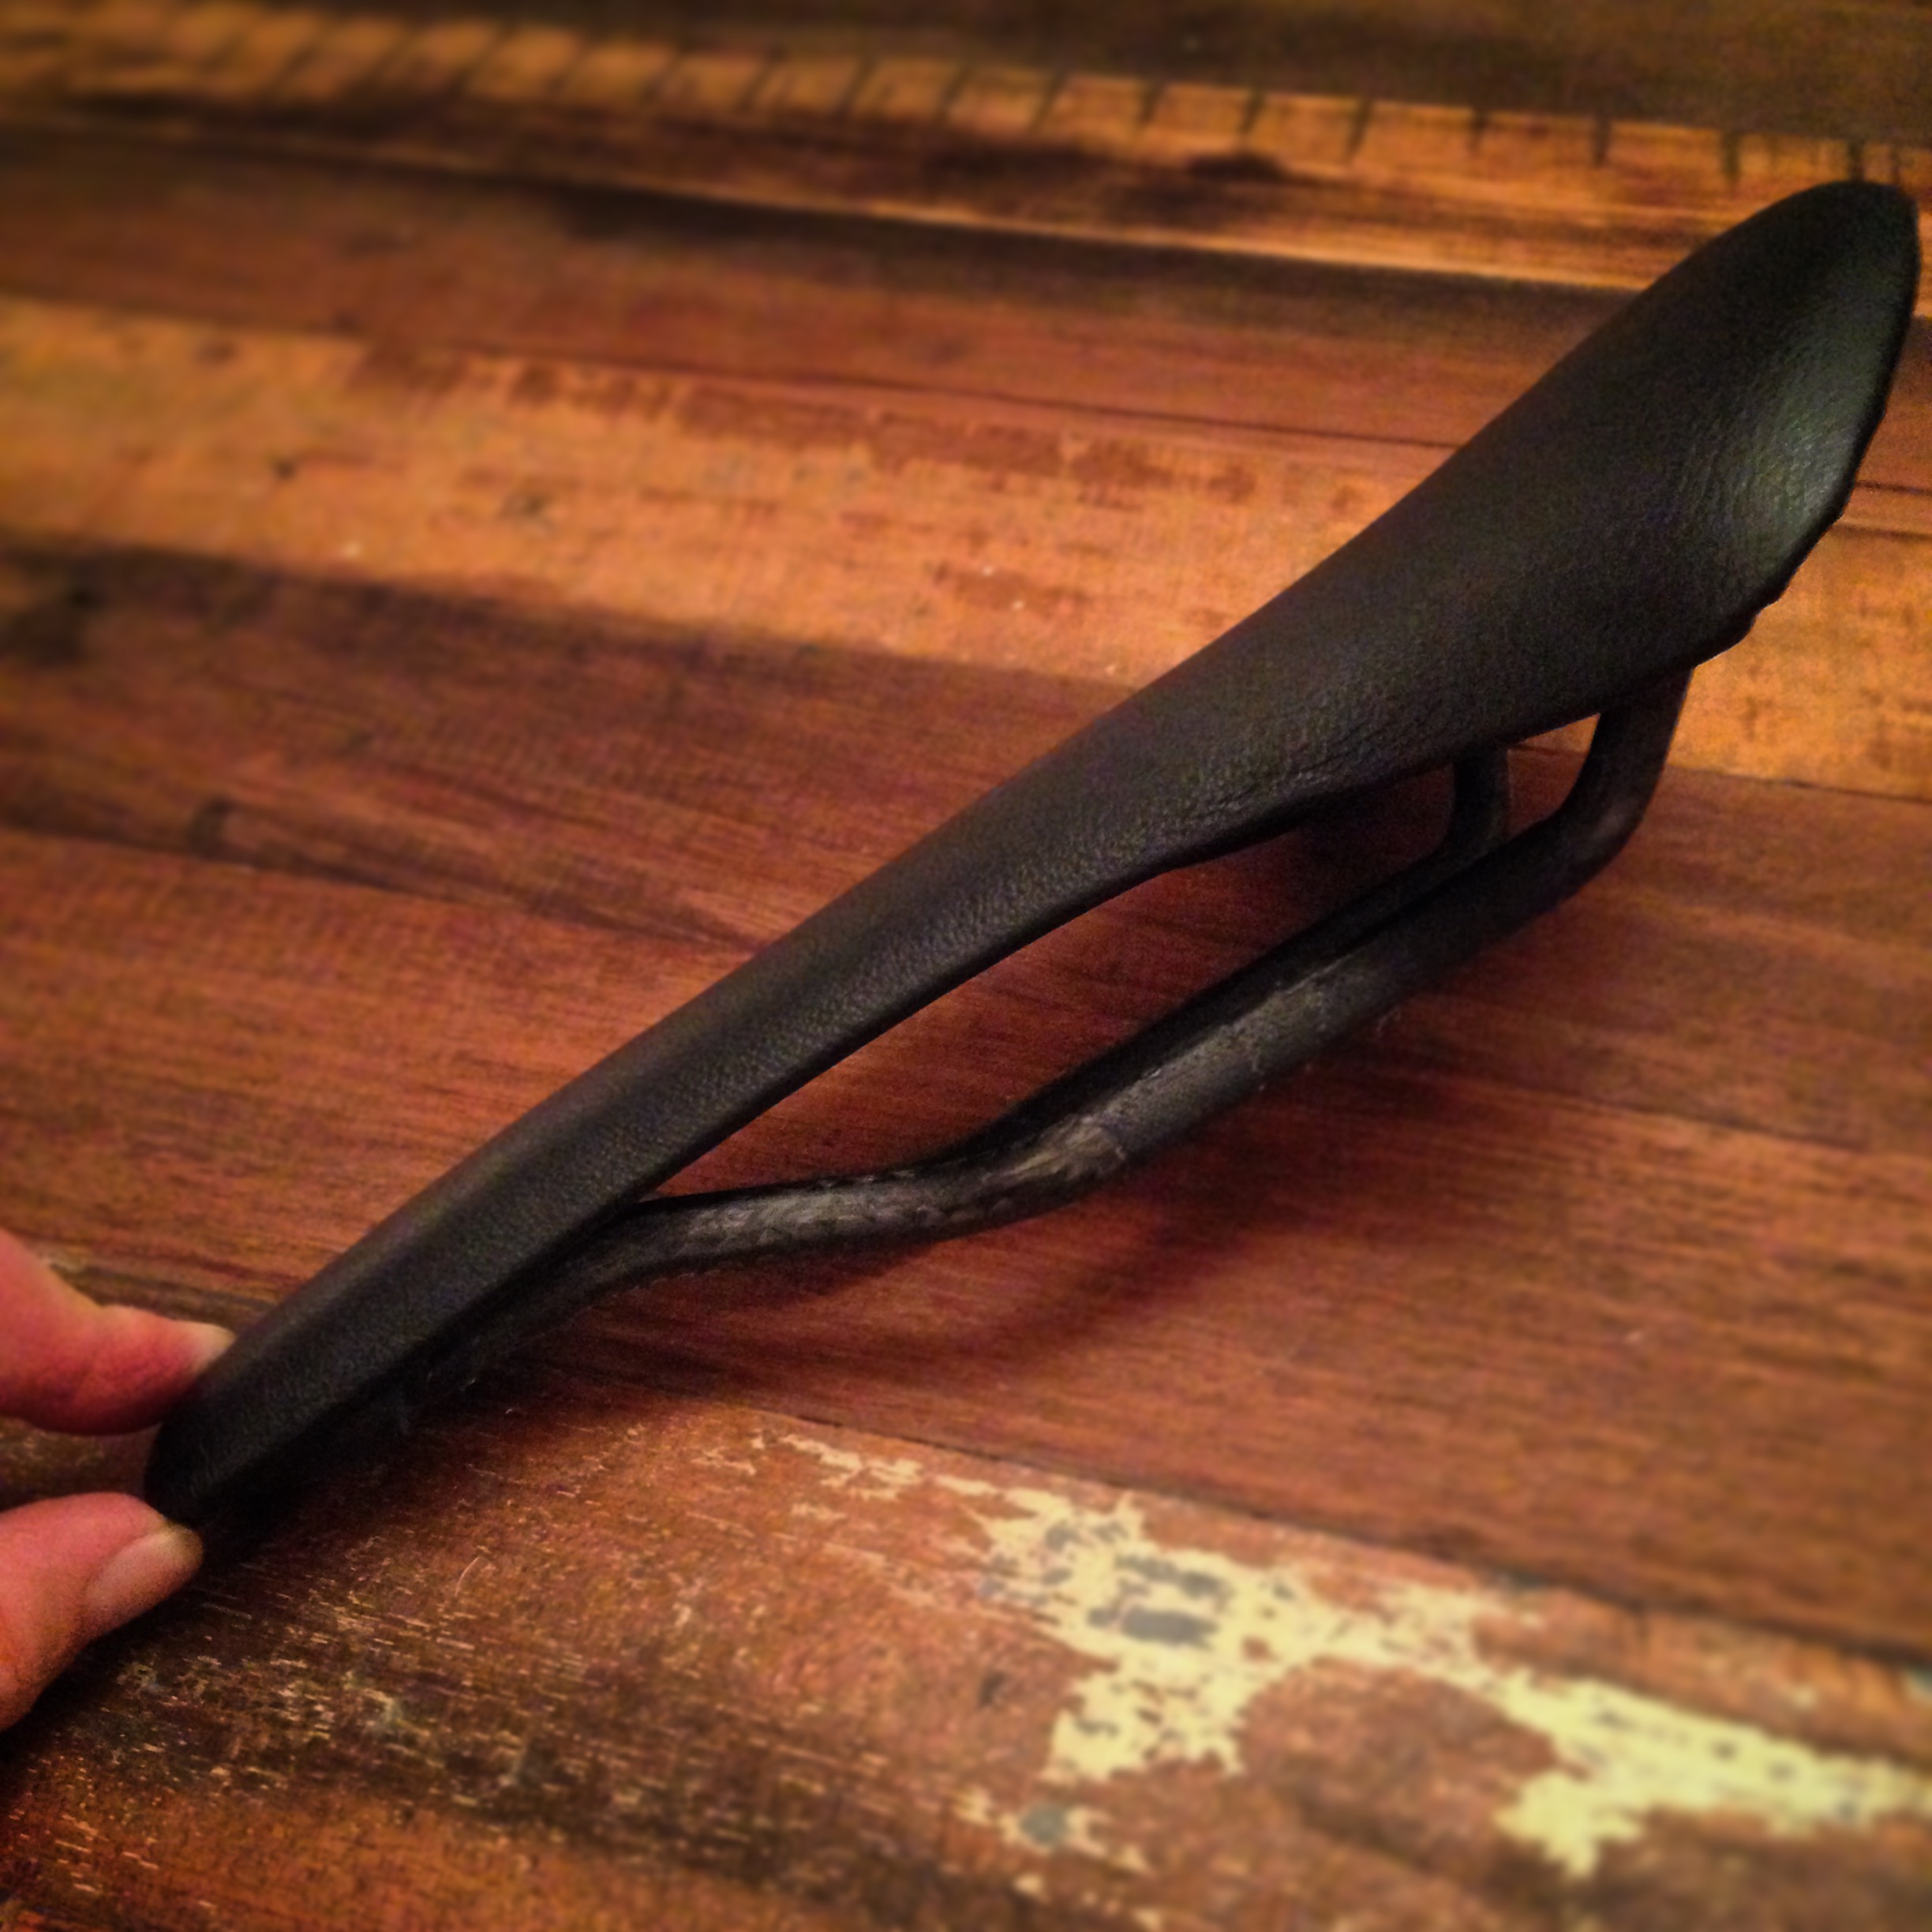
Bask. At this point you should have a beautiful looking saddle and a sense of pride.