The Perfect Project: Part 3

In part 1 of 'The Perfect Project' series I wrote about my experience of going through the consultation, fit, and partner selection in the custom build process. Part 2 detailed the development of the custom geometry which makes a bespoke bike so special to its owner. Some (very important) aspects which I haven't covered yet are the material selection and the frame options. Welcome to Part 3!
A bit of personal history. I grew up riding steel and aluminum BMX as a kid. As I grew older I transitioned to steel road bikes, then to aluminum MTB, back to BMX, all before finally returning to road cycling. By that time carbon had firmly taken over as king. Now there is absolutely nothing wrong with carbon frames. I have a couple of them. But the more I've been riding them the more I've been longing for a bit of the particular personality that only alloy frames possess. Although the idea of building a custom bike has been on my mind for years when it came time to take the leap I knew I wanted titanium. But why titanium? The answer is complicated but I'll break it down into a few parts.
First what is titanium?
Titanium sits at no. 22 on the periodic table of elements and was named for the titans of Greek mythology. Manufacturing titanium can produce either pure form or titanium alloy (mixed) with iron, aluminum, or other elements. The useful life expectancy of titanium ranges from 20-40+ years.
Myth: Titanium is some strange and rare space age material. Fact: it's one of the most common and abundant (by weight) natural elements on earth.
Myth: Titanium is a very expensive material. Fact: It’s actually comparable in price to other metals when comparing the price by volume. If you compare price by weight titanium is more expensive only because it weighs less by volume. So you need more of it.
What makes titanium so special?
The most obvious reason may be the strength to weight ratio it's best known for. In a pure form the density of titanium is only 60% of steel or common aluminum alloys but it has 2x the strength. Nearly half the weight but twice the strength sounds pretty good right? But what about titanium alloys?
Titanium is most often mixed with aluminum but it can also include many other elements. These variations, known as 'grades', are done to improve or change the characteristics of the material for manufacturing or intended use. When it comes to cycling you'll most commonly find frames built with Grade 9 titanium (may be listed as 3Al/2.5V) which is an alloy containing 3% aluminium and 2.5% vanadium). The addition of 3% aluminum and 2.5% vanadium creates and idyllic blend between the easier to weld pure grade titanium and the higher strength grade 5.
Why is titanium a good material for a bicycle frame?
Again the most obvious answer is the strength to weight ratio. It’s hard to beat in a 1:1 comparison against alloy materials like steel or aluminum. How is that benefit applied in real terms? Well, the strength to weight ratio means that builders can use thinner tubing walls to reduce the frame weight while maintaining strength.
Titanium is also a great long term material. Unlike steel but similar to aluminum, titanium is an anti-corrosive alloy. This is due to the passive oxide film that forms on the outer surfaces and continues grows up to 25nm thick. This oxide film dramatically slows oxidized corrosion from air and or water.
Myth: Only carbon can be 'tuned' to create ride characteristics. Fact: Tuning alloy frames can be achieved (very well) with butted tubing. In butted tubing the wall thickness of the tubes is varied along its length. In general, butted tubes have thicker walls at the ends near weld points to strengthen the junctions and thinner sections along their length. Liken this to lugging a frame on the inside. Butted tubes allows frame builders greater freedom to tune the ride beyond just the geometry.
The Mosiac RT-1
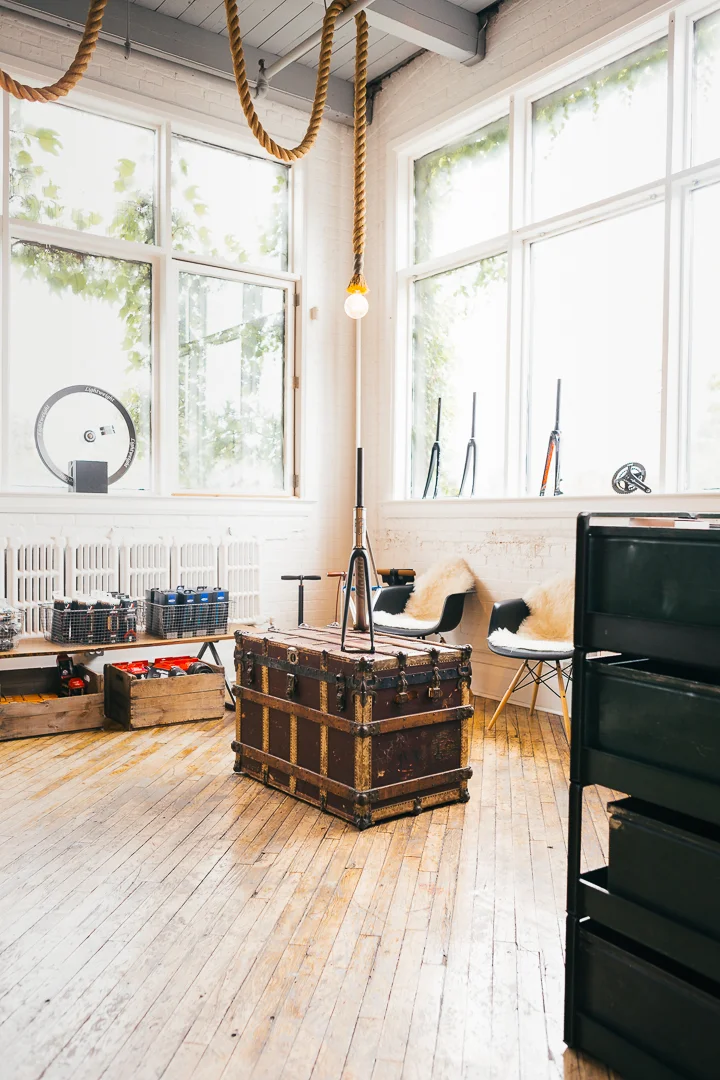
My Mosaic RT-1 sits in the Blacksmith waiting area. Waiting for me!

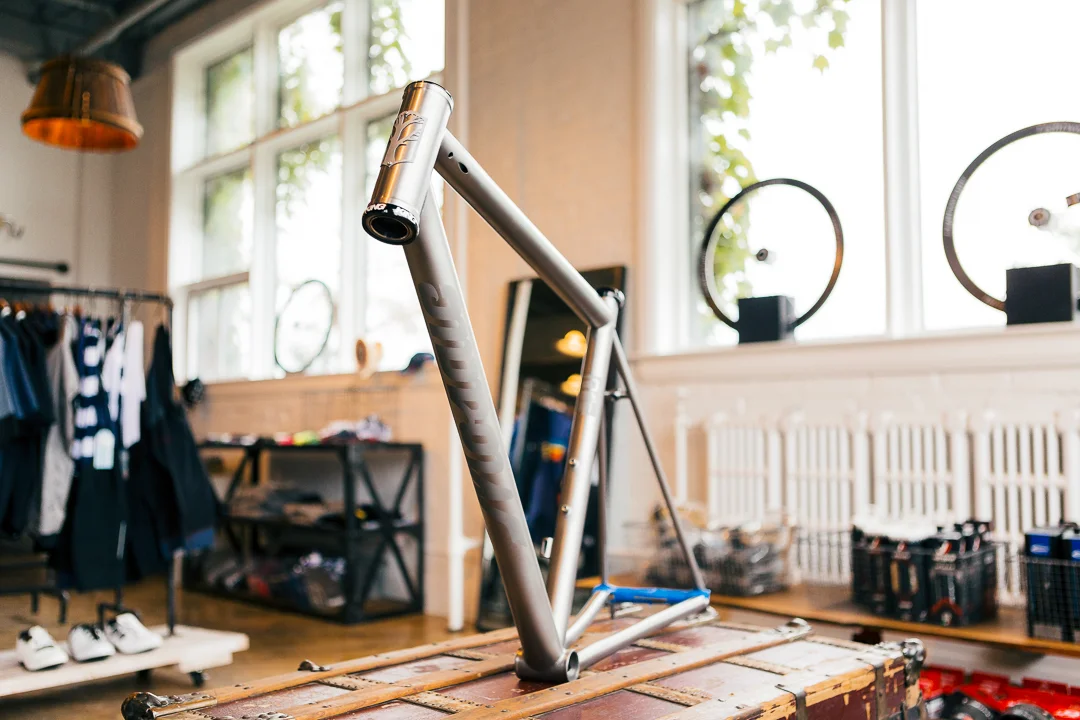
Sideview of the Mosaic Rt-1
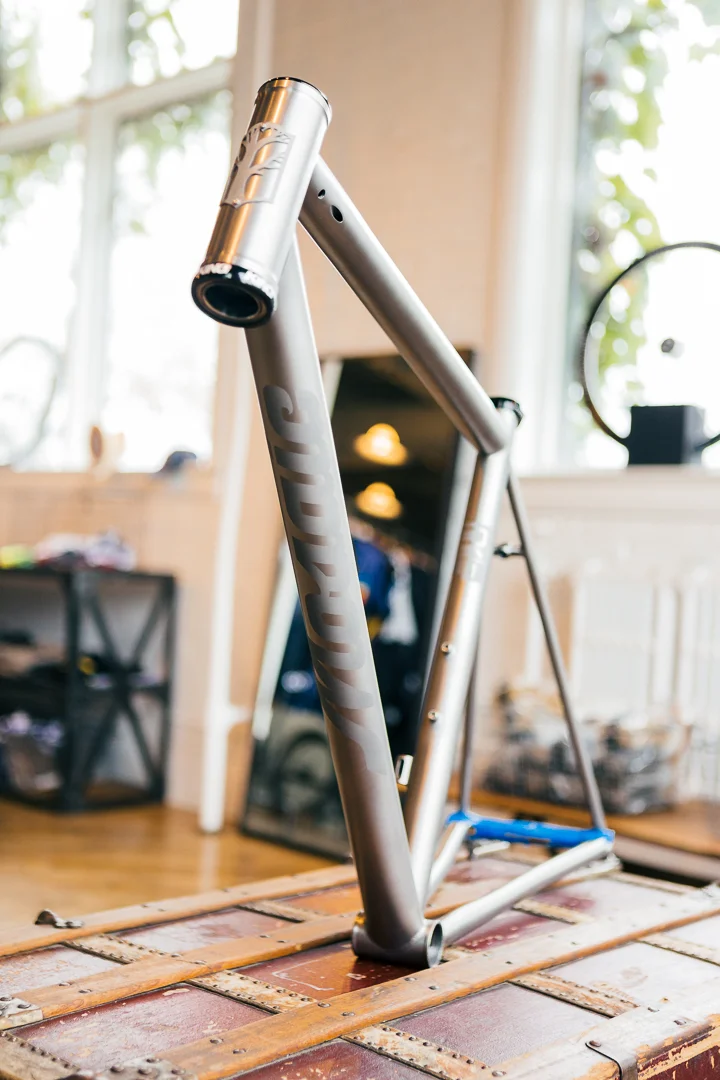
Downtube view on the Mosaic RT-1
Underside etched logos on the downtube of the Mosaic RT-1
So why choose the Mosaic RT-1 for my forever bike? Between the base RT-2 and the top end RT-1 it honestly came down to the tubesets and the desired options. Granted yes both framesets are constructed with a Grade 9 titanium tubeset, only the RT-1 is fully butted and includes full customization options. If you're interested in seeing the comparison, here is the features list.
To make this RT-1 my own, Blacksmith and I extensively debated each point before finalizing a spec sheet for the frame. Why does that matter? Aside from the perfect fit, the personalized specs are one of the prime benefits you only get with a custom frame. To give a greater sense to the value of this experience here is a breakdown of the final spec choices and why they were made for me, the customer.
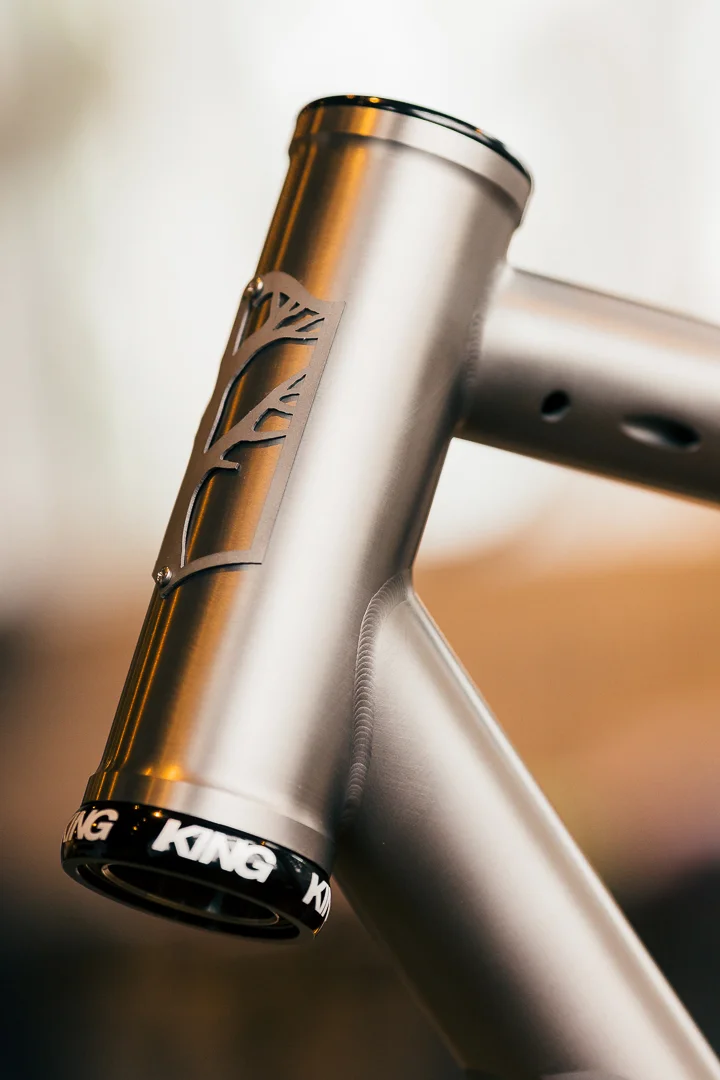
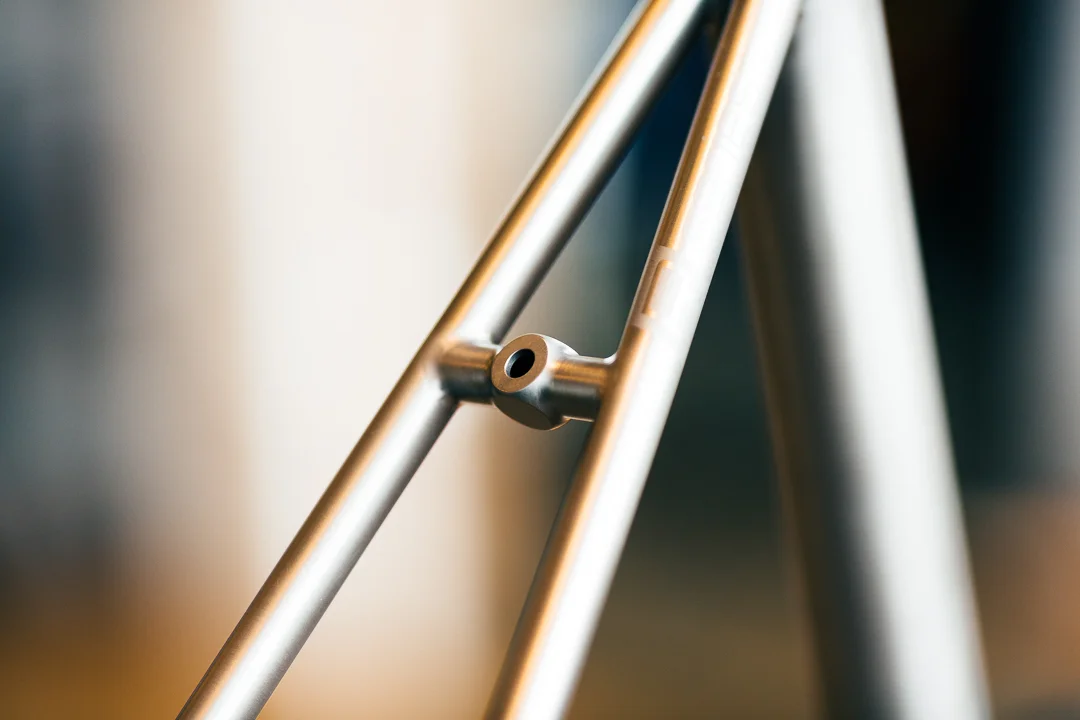
Weld detail and massive 44mm headtube and CK Inset 8 headset on the Mosaic RT-1

Close up of the underside logo on the Mosaic RT-1 downtube
Cable Routing: One of my customer requests was to have the cleanest aesthetic possible. So I asked for the rear brake and Di2 cables all be internally run. External cables may be easier to mechanic and be more classic but I have no issue with working on internal routing and the visual appearance of the internal routing is more important to me.
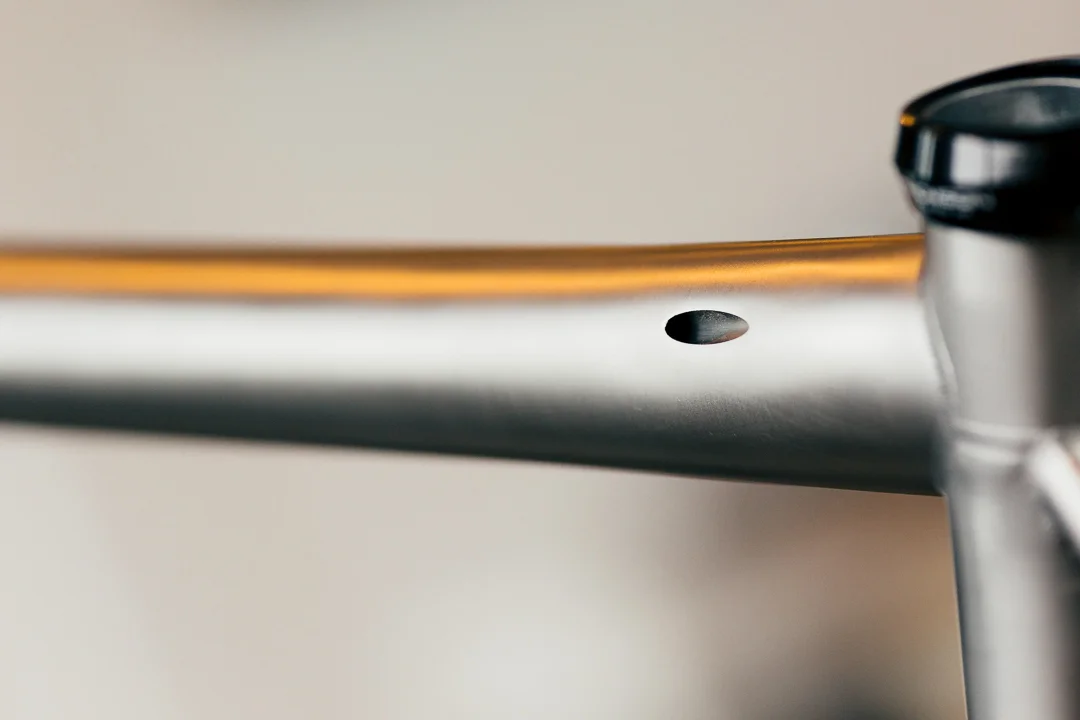
Internal run rear brake cable for clean aesthetics on the Mosaic RT-1
Headtube: This particular detail is tied to the decision made in the first request. Initially scoped with a 1 1/8" headtube it was later changed to a much larger 44mm headtube. This gives the frame more front end stiffness but the change was made to allow for an internal Di2 routing entry in the top tube. The external headsets used on the 1 1/8th headtubes are fine and proven to work reliably but they don't have enough space for internal Di2 to be routed via the top tube. To enter the frame there the cable has to turn back inside the top tube to then pass down the headtube before making its way into the downtube. A 1 1/8” headtube simply doesn’t have enough clearance around the fork to run the cable that way. Since I'm not a fan of how downtube cable entries look for Di2 then 44mm it is.
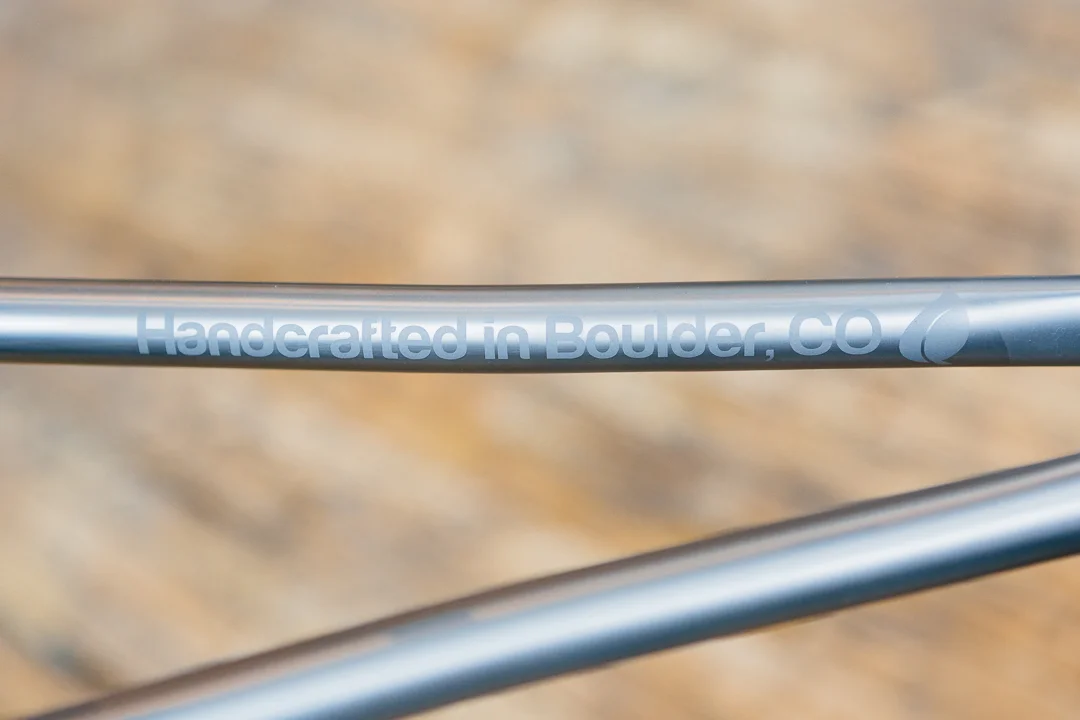
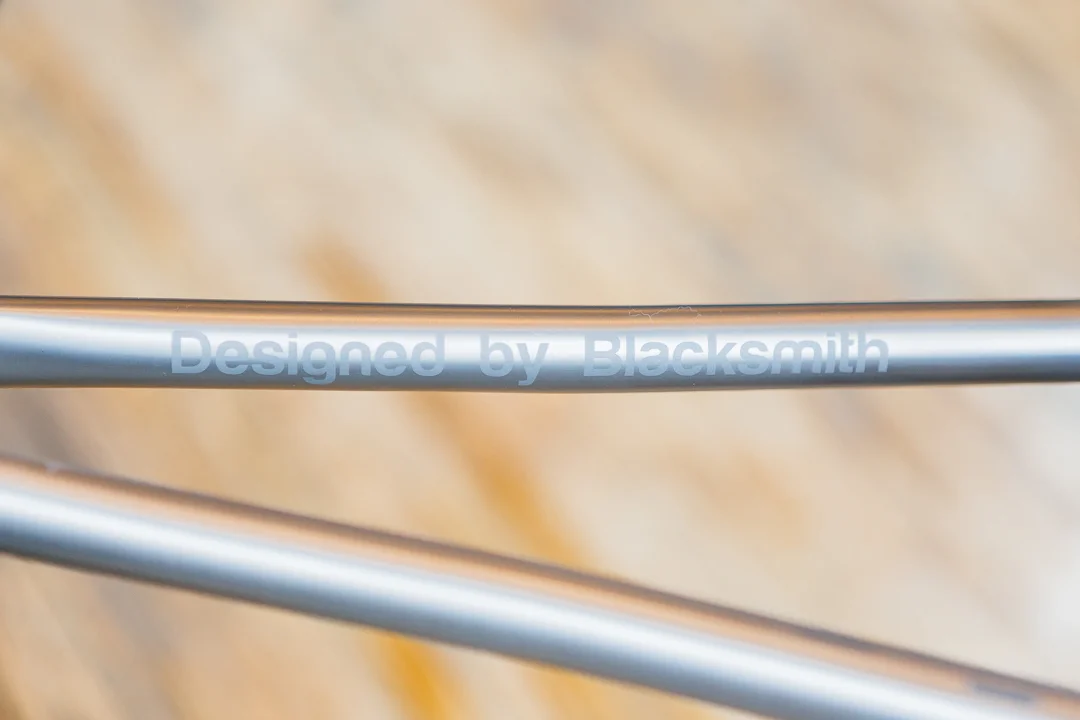
Finishes: Tying all the aesthetics together were the choices made for the logos and finishes. Mosaic has 3 logo treatments and 3 metal finishes for a total of 9 combinations. For the perfect project and my forever bike I was set on the brushed finish. To me it’s the most natural look of titanium. It also happens to be the easiest to maintain. Small marks can be brushed out with a scotch brite pad. One design detail I really pushed for customizing was the logos. When I shot the March Mosaic’ness story I fell in love with the ‘modern’ logo treatment and the underside logo placement. Something about it just resonates with me because it gives the frame an overall naked appearance. So I pushed hard, maybe too hard to get this. A final special request was to add “Designed By Blacksmith” along the inside of the driveside chainstay. I want to show my appreciation and thanks to Blacksmith for all their help and support over the years. They are helping make my dream come true. Doing this was really important to me and I will proudly ride with this badge.
Bottom Bracket: The available choices are PF30, T47, or English BSA bottom brackets. Right off the bat PF30 just has far too many issues. If you ask me, threaded bottom brackets are where it's at. There is growing momentum of support for the new T47 standard. Cycling Tips has even recorded a recent podcast all about T47 but I’m not 100% confident in its longer term viability. I'd like to see more of the industry adopt the T47 standard before I'd put it on my forever bike. So that left the English BSA. It is the proven veteran bottom bracket standard which I also have the most experience with. It has the benefit of being the easiest to manage on my own when I need to clean it or to get at the Di2 junction boxes and cables inside the frame.
Rim brakes bridge on the Mosaic RT-1
Myth: Newer bottom bracket standards are stiffer. Fact: The English BSA bottom bracket bearings sit outboard of the 68mm wide shell and put the bearings at a width of ~86mm (just like a PF86). From an engineering standpoint this significantly helps with the load tolerances and stiffness at the bottom bracket.
Seatpost: Mosaic offers 3 choices for seatpost diameters. 27.2mm, 30.9mm, and the beefy 31.6mm. I've ridden both the 27.2 and 31.6 but the difference is either so negligible or it's imperceptible to me. The 27.2 may afford more comfort but I learned that this size requires a shim to downsize from the native seat tube diameter. Inversely the option for a 31.6 post meant that a larger diameter seat tube would be used and this could more weight to the frame. Since I can't really feel any additional stiffness with a 31.6 seatpost, Blacksmith helped me move quickly past it. The final choice was the to go with the stock and native 30.9 seatpost size. It will blend the best of the others while not adding any additional weight. The downside is that 30.9 is not a common seatpost size and fewer manufacturers support it so choices could be limited. But I can always add a shim for a more common 27.2mm post if needed.
Derailleur: A specific request was made for a braze on front derailleur (FD) where the stock build calls for a band on type. A band on FD is pretty versatile because you can choose to run either a band on type FD or a braze on with an adapter. As well if you'd ever like to run a 1x setup with a clean seat tube you can. My choice for a braze on mounted FD was purely subjective to habitual and aesthetic preferences. I like braze on FDs and I like the classic look of the welded on mount. I know it can be a bit more limiting but I can live with that.
Brakes: Of all the build options this one may have been the most perplexing. The road cycling industry is at a really important pivot point. Disc brakes have come forward from the horizon and are approaching critical mass adoption. Although they have a few drawbacks I really don’t think the momentum can be stopped now. It’s only a matter of time. But what I couldn’t get past right now is the uncertainty in what the disc brake standards are going to be. Three of those unsolidified standards would directly affect this frame. If we chose the wrong mounts, axel types, or axel widths the frame could soon rendered obsolete. Rim brakes are proven, reliable, and I’m already invested with an arsenal of wheels so talking it through with the Blacksmith the decision was to go with rim brakes.
Non drive side detail on the Mosaic RT-1
Custom drive side detail on the Mosaic RT-1
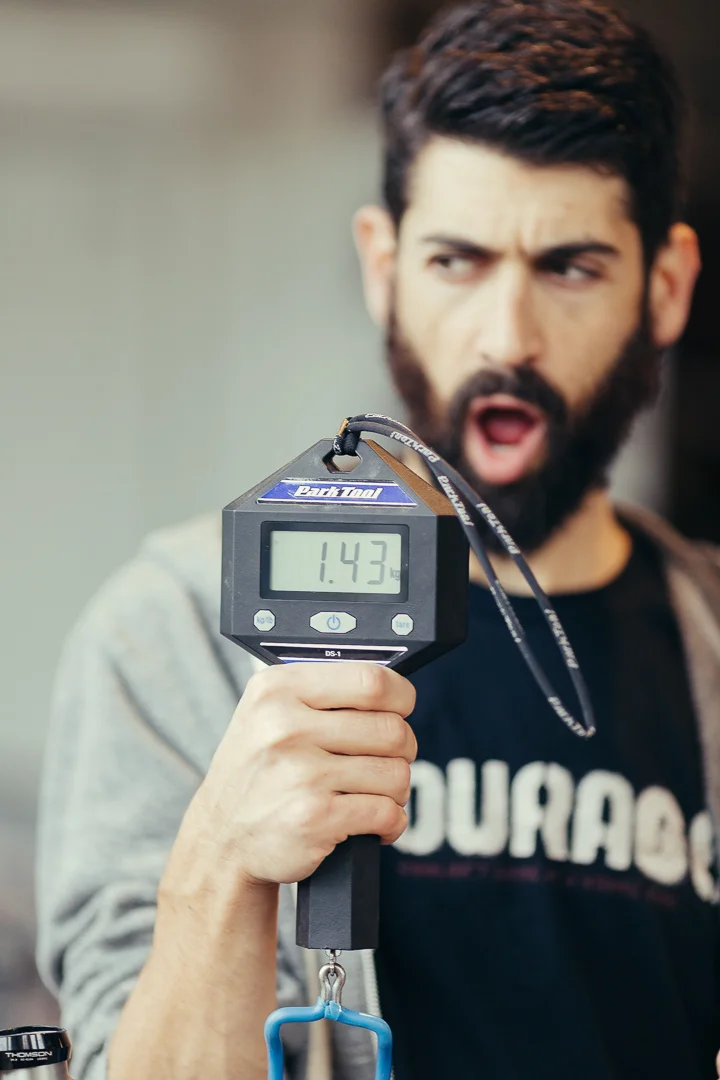
Frame weight on the Mosaic RT-1 with headset and seatpost collar
The Final Product
The good news is that my Mosaic RT-1 arrived at Blacksmith about two weeks ago. I got a picture texted to me late on a Thursday night and I rushed in the very next day to see it. If you haven't already picked up on it, I'm not short for words but the RT-1 left me speechless. It was and still is hard to believe that for once the frame on the other side of the lens is mine. It's absolutely perfect. Better than they ever described it would be. The construction quality is top shelf. I know founder and welder Aaron Barcheck has his reputation but words can't do him justice. He deserves a spot in the welding hall of fame. Each weld is an immaculate 'stack of dimes'.
In my hands the frameset feels like air. For fun I couldn't resist asking the shop owner, Mike, to throw the frameset on a scale. It tips just a paltry 1430 grams with the headset and seatpost collar installed. This roughly translates to about 1260 grams without the headset and collar. For the imperial folks out there, that's south of 3lbs for the frame. All told this dream bike stands a very good chance of weighing in near or less than my lightest carbon. There is so much to say but I’m going to save all that for when I write the full ride review.
Obviously I haven’t ridden it yet and there are a few things still left to do before that maiden voyage. Like put it together... A few strategic parts have headed off to Velocolour for painting. (All of that will be a separate part to the story.) Once the parts come back the bike needs to be built up. Our rough timeline has us just a few weeks out from #newbikeday. Can. Not. Wait.


